
Published: September 16, 2025
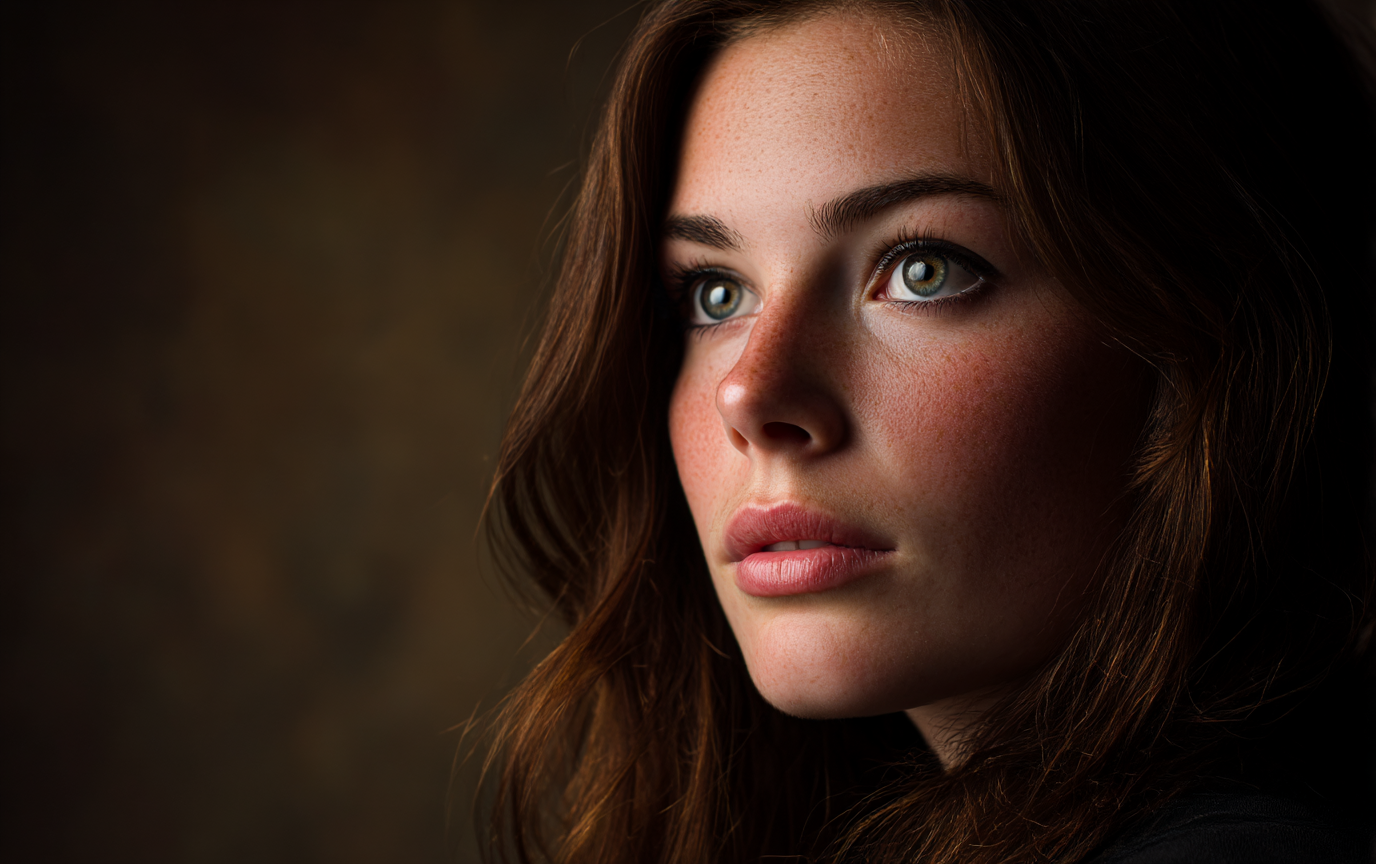
You’ve seen those portraits that make you stop scrolling immediately. The ones where the subject seems to glow from within, where every feature is perfectly sculpted by light and shadow. You wonder: “How do they do that?”
The secret isn’t expensive equipment or years of experience. It’s understanding one fundamental lighting setup that works 90% of the time.
The Problem Every Portrait Photographer Faces
Whether you’re shooting your first headshot session or you’ve been photographing people for years, the same challenge haunts us all: making ordinary people look extraordinary. Bad lighting makes beautiful people look flat and lifeless. Good lighting transforms anyone into a compelling subject worth photographing.
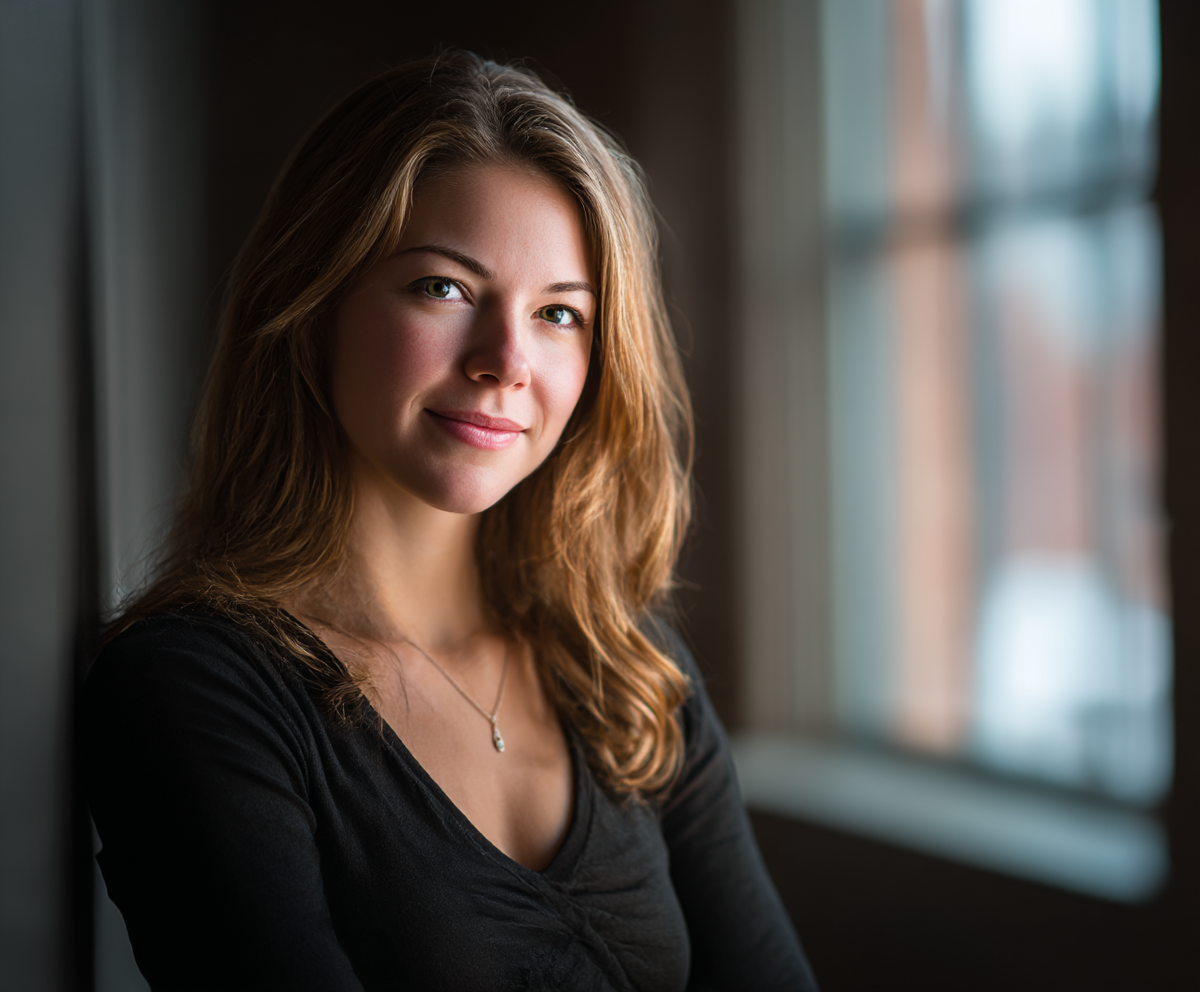
Introducing Window Light + Reflector: The $20 Studio
Click The Link to read more:
Forget complex three-point lighting setups. The most flattering portrait light is probably streaming through your window right now. What You Need: A large window (north-facing is ideal) A white foam board or reflector ($15-20) Any camera (yes, even your phone) The Setup in 60 Seconds: Position your subject 3 feet from the window, at a 45-degree angle Place the reflector on the opposite side of the window, angled toward their face Adjust the distance of the reflector until the shadows soften but don’t disappear Shoot slightly above eye level for the most flattering angle That’s it. You now have professional-quality portrait lighting.
Why This Works (The Science Made Simple)
This setup creates what photographers call Rembrandt lighting — named after the Dutch master who painted this way for centuries. Here’s what’s happening: The window acts as your main light source (key light) The reflector bounces soft fill light back into the shadows The 45-degree angle creates dimension by separating light and shadow The slight elevation sculpts the face and creates catchlights in the eyes The result? A small triangle of light appears on the shadowed cheek — Rembrandt’s signature.
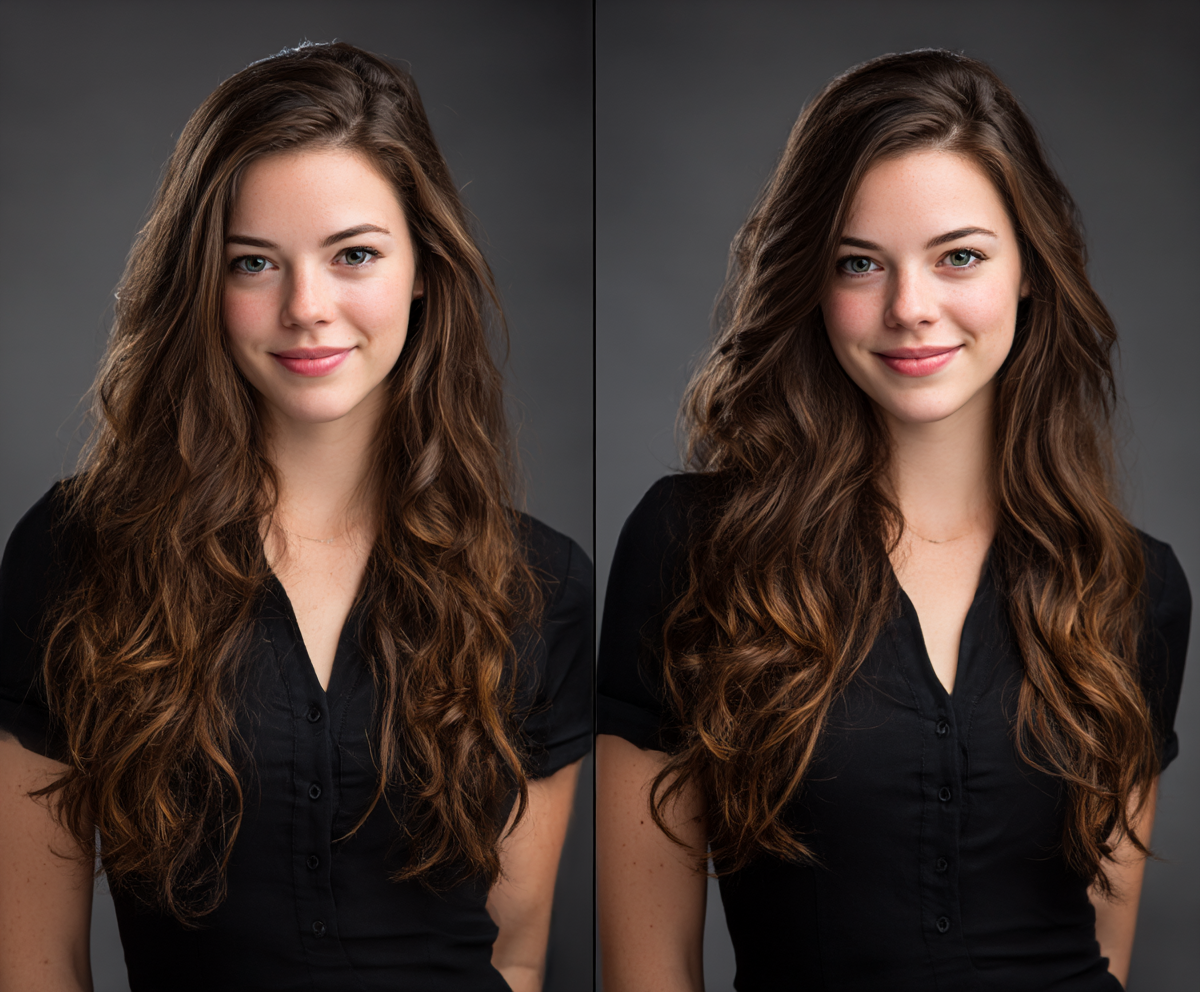
Real-World Examples: Before and After
Without reflector: Deep, harsh shadows. Subject looks tired and unflattering. With reflector: Soft, even lighting. Subject looks professional and approachable. (The difference is dramatic — your subjects will thank you)
Pro Tips That Make the Difference
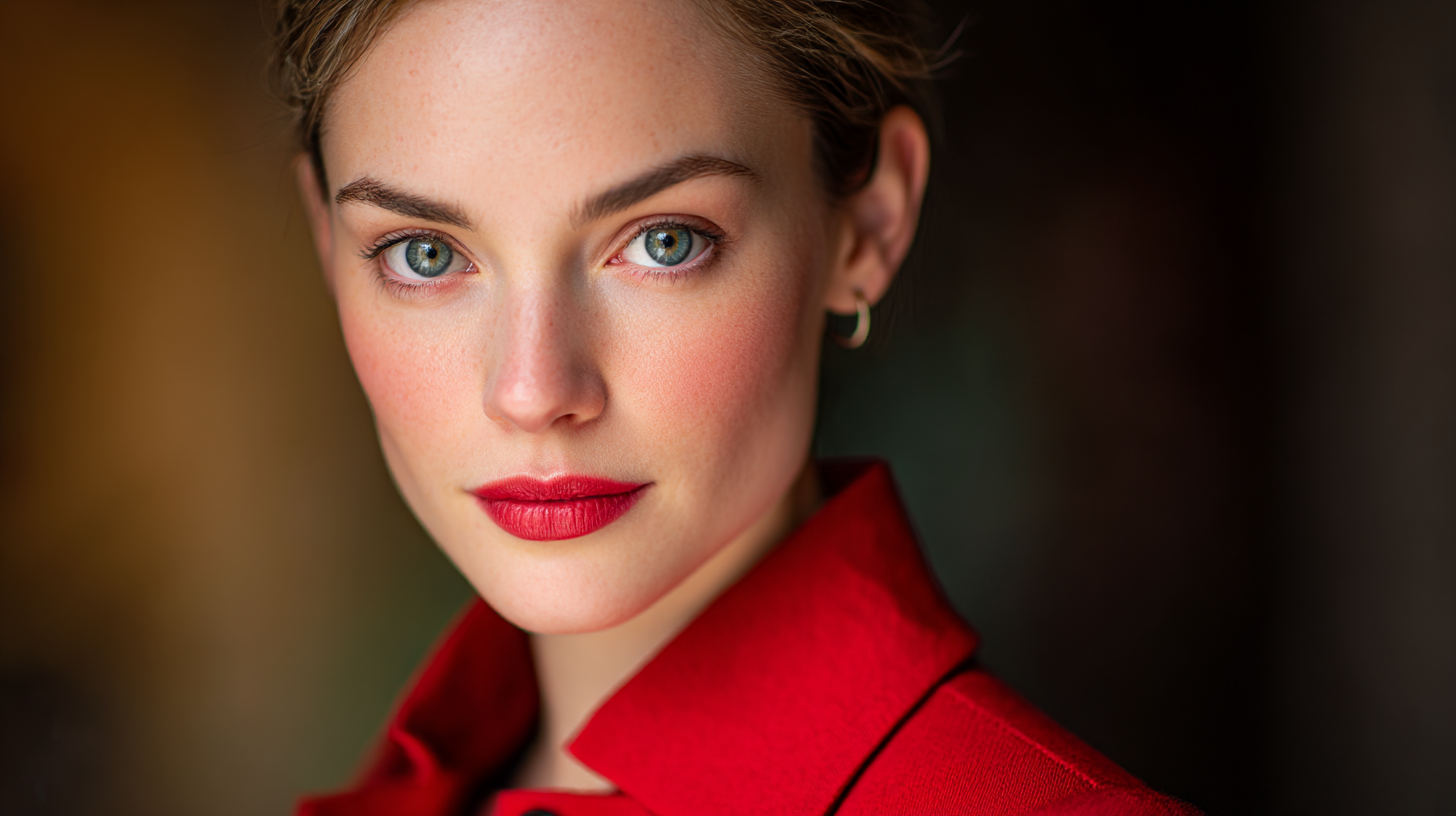
1. Watch the Eyes The eyes should always be the brightest part of your portrait. If they’re not catching light, adjust your subject’s position slightly toward the window.
2. Mind the Background A cluttered background kills even perfect lighting. Position yourself so the background is simple — a plain wall works perfectly.
3. Time of Day Matters Best times: 10am-2pm for consistent, soft light Avoid: Early morning and late afternoon when light changes rapidly
4. Weather is Your Friend Cloudy days create the world’s largest softbox. Don’t pack up your camera when it’s overcast — embrace it.

Taking This Setup Further
once you’ve mastered window light + reflector, you can enhance it: Add a second reflector below the subject to eliminate under-eye shadows Use colored reflectors (gold for warmth, silver for drama) Experiment with window coverings — sheer curtains create beautiful soft light
For the AI Artists: Recreating This Look Digitally
If you’re using Midjourney or similar AI tools, here’s how to get this lighting:
Prompt [“Professional headshot, subject lit by large window light from 45-degree angle, soft fill lighting, Rembrandt lighting setup, natural and flattering, shot with 85mm lens, shallow depth of field --ar 4:5”]
The key terms: “window light, ” “Rembrandt lighting, ” and “soft fill” will guide the AI toward this classic setup.
Your Assignment This Week
Don’t just read this — do it: Find the largest window in your home Grab a friend, family member, or even yourself (selfie mode works) Try the setup exactly as described Take 10 shots, adjusting the reflector position each time Compare your results Post your best shot on Instagram and tag me — I want to see your results! [Find me On Threads and Lets See how you did (Click This Link) share the results!!!!

The Bottom Line Great portrait lighting isn’t about having the most expensive gear. It’s about understanding how light shapes a face and using simple tools to control it. Master this one setup, and you’ll never be stuck for good portrait lighting again. Whether you’re shooting corporate headshots, family portraits, or creative self-portraits, this foundation will serve you for years to come. The best part? You can set this up anywhere there’s a window. Hotel room, coffee shop, your living room — you now have a portable portrait studio. What’s Next? In next week’s post, we’ll explore how to modify this setup for dramatic mood lighting using nothing but household items. Got questions? Drop them in the comments below. I read and respond to every single one. Want more? Subscribe to never miss a technique that could transform your photography overnight.
The Edwards Art Blog

The Alchemy of Light: Crafting Cinematic Portraits with AI

Ethereal Soundscape: The Medusa Muse

Medusa

Unlock the secrets to creating stunning AI-generated artwork

Toxic Air: The Silent Sentinel

Through the Lens of Emotion

The Art of Storytelling: Capturing Emotions Through Fine Art Portrait Photography

Dreamy Meadows: An Enchanting Escape Into Nature’s Serenity

AI: The Photographer’s New Assistant (and Sometimes Muse)

Why Midnourney Is Failing In The Art Industry

Blog Post: The Ultimate AI Art Prompt — Craft a Museum-Grade Masterpiece in One Click
The Controlled Chaos of Creation: On Prompting, Privacy, and the Pursuit of Precision
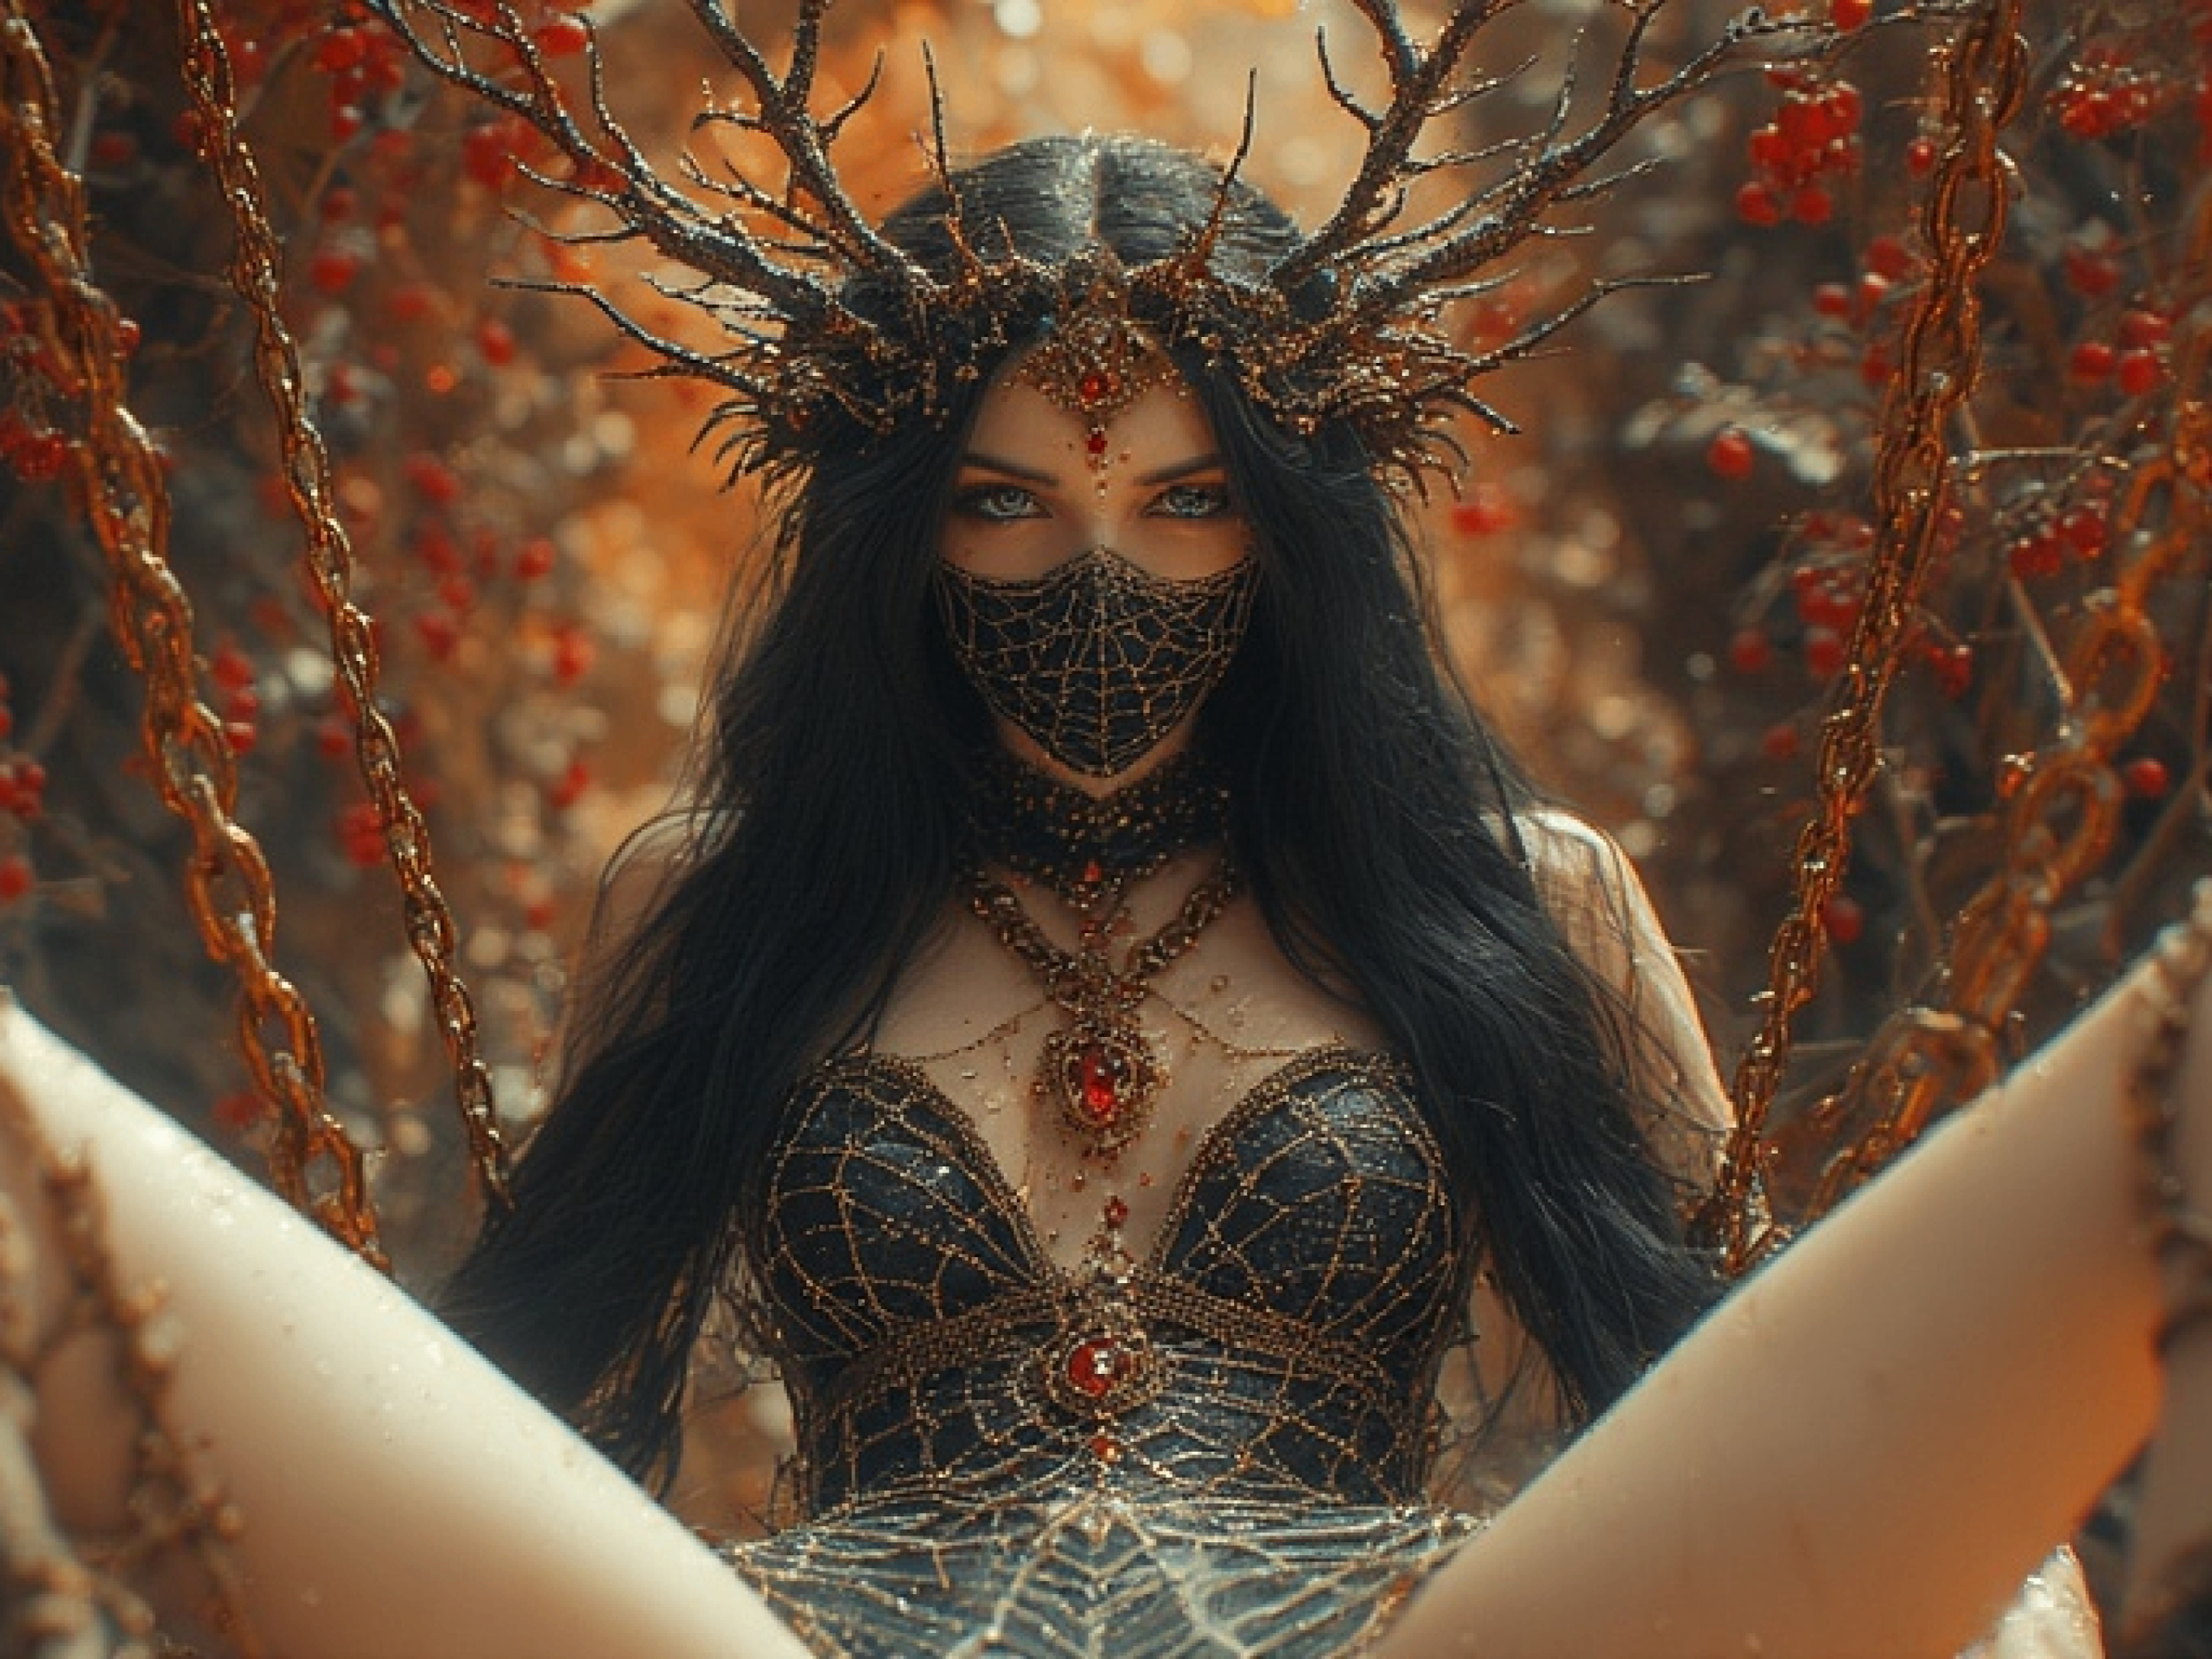
Shadows of Silk and Thorns: A Dark Fairy Queen’s Ethereal Realm
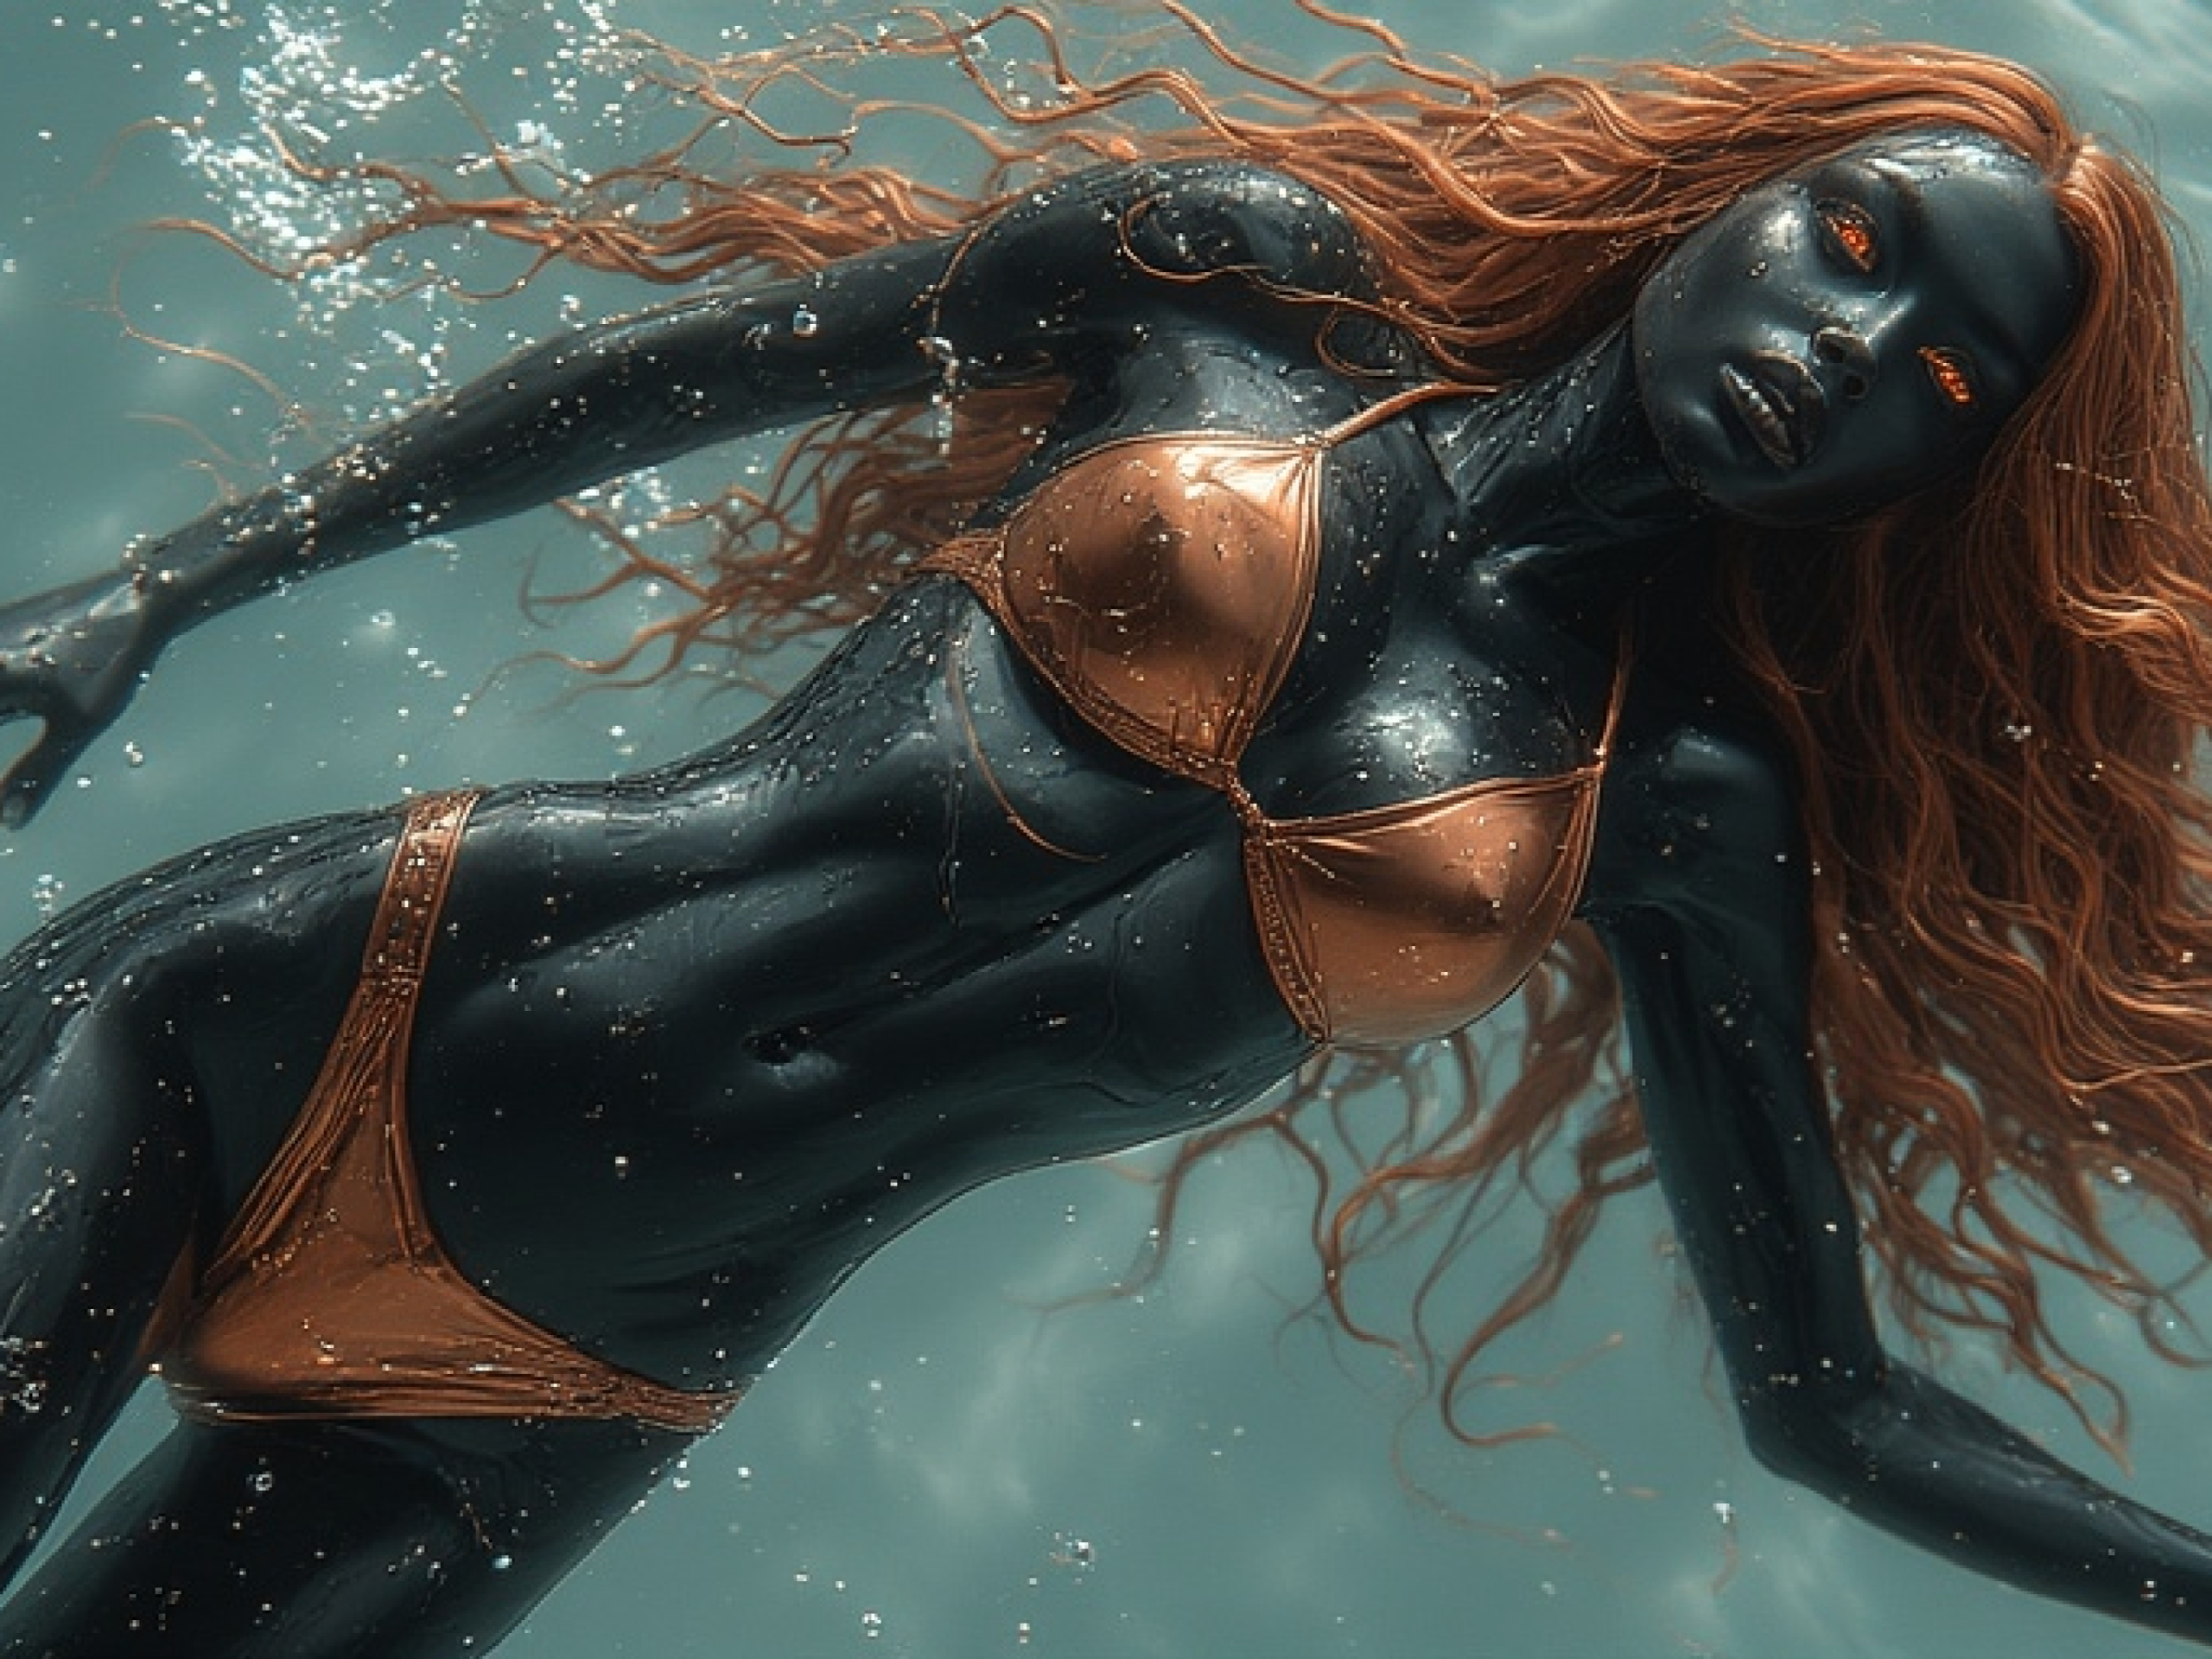
The Art of Ethereal Realism: A Black Porcelain Feminine Figure with Soul-Piercing Beauty
