

“Have you ever wondered how to transcend basic AI image generation and truly command the light? This post is a deep dive into my journey of crafting a single, breathtaking portrait that merges two contradictory lighting techniques: the harsh, controlled drama of a studio flash and the soft, divine glow of ethereal backlighting. I’ll dissect the exact prompt line-by-line, revealing how keywords like 'off-camera flash', 'pool of light', and 'ring flash catchlight' build a technical foundation. More importantly, I’ll show you how combining them with 'contre-jour', 'rim light', and 'halo effect' allowed me to create something that feels both hyper-realistic and magically impossible. Join me as I break down the anatomy of a perfect prompt, from setting the cinematic mood with 'Dark and Moody Fine Art' to rendering every detail with 'skin texture' and '32K UHD'. This isn’t just about creating an image; it’s about learning to paint with light itself.”
It starts with a hook that speaks to the reader’s desire for advanced control. It highlights the conflict (“contradictory lighting techniques”) which is the core of what makes your image so unique. It promises value by offering a “line-by-line” dissection and revealing the “exact prompt.” It uses bolded keywords to immediately show the technical prowess and give a preview of the content. It ends by elevating the craft (“paint with light itself”), positioning the post as more than just a tutorial, but as an artistic guide.
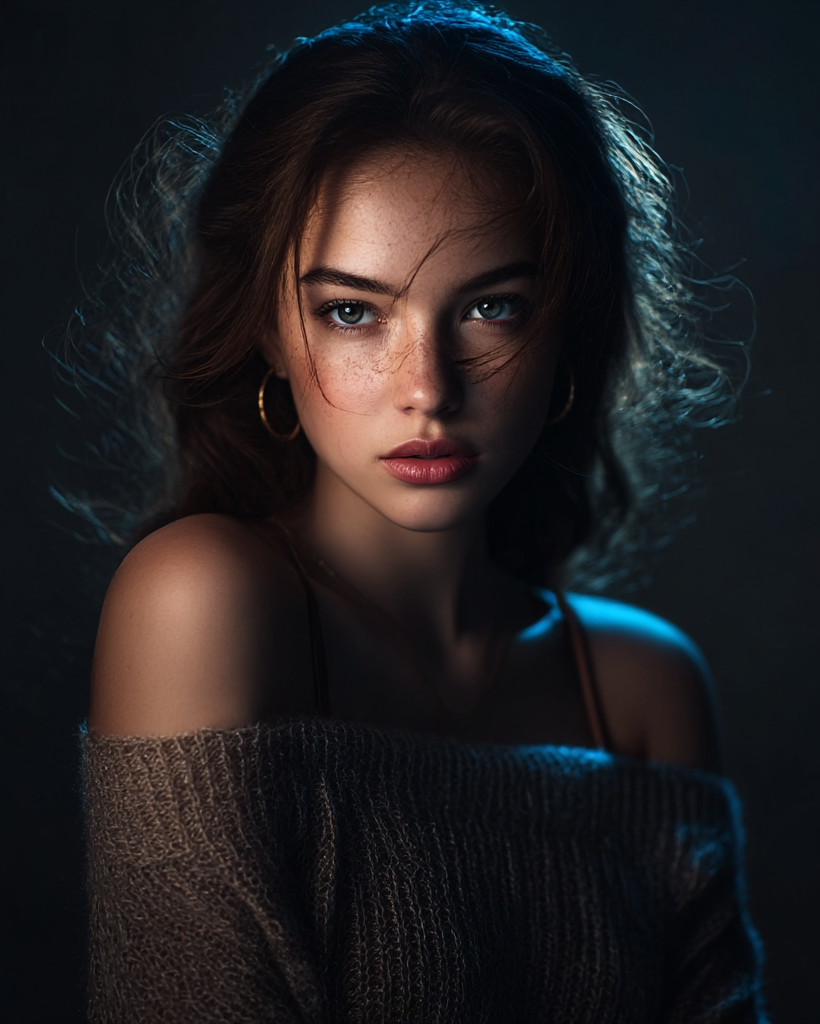
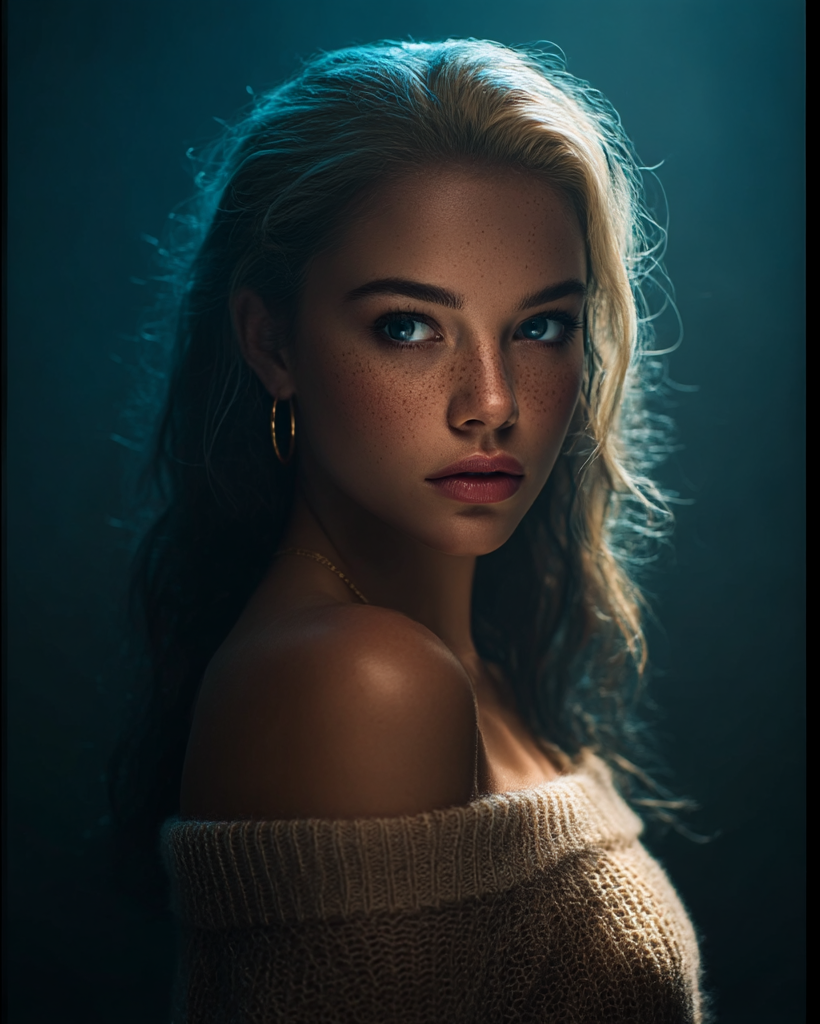
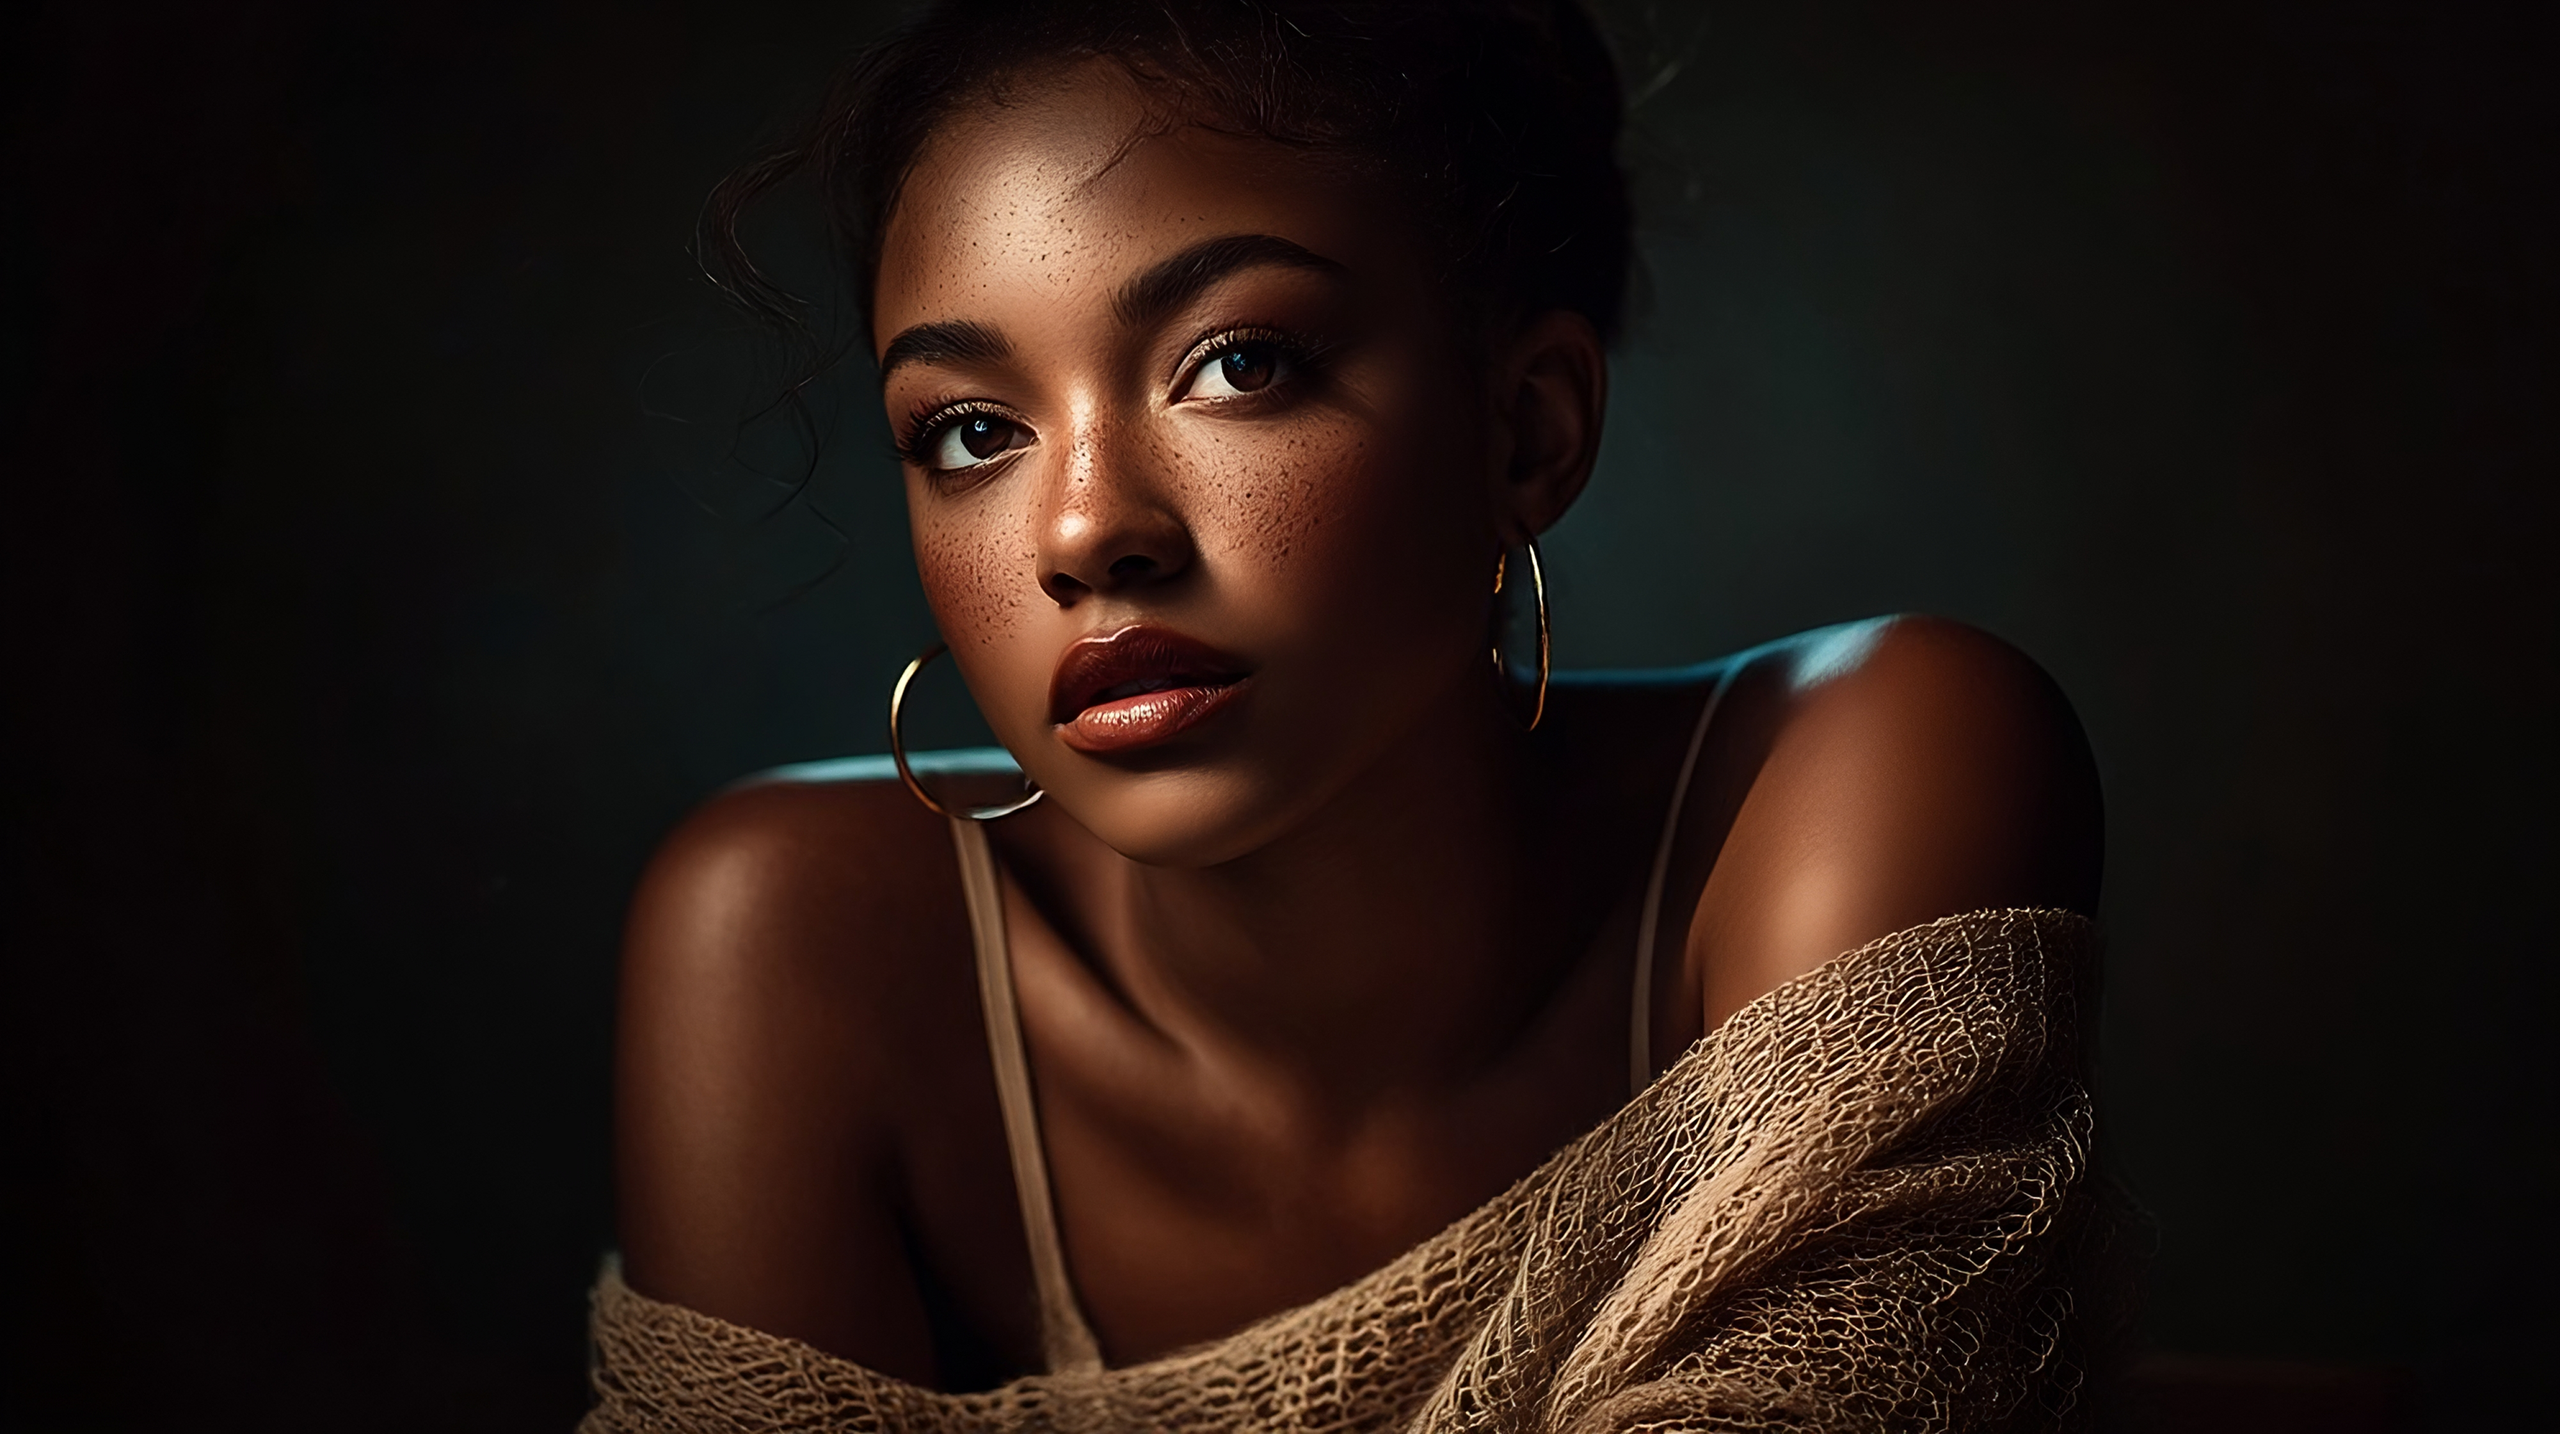
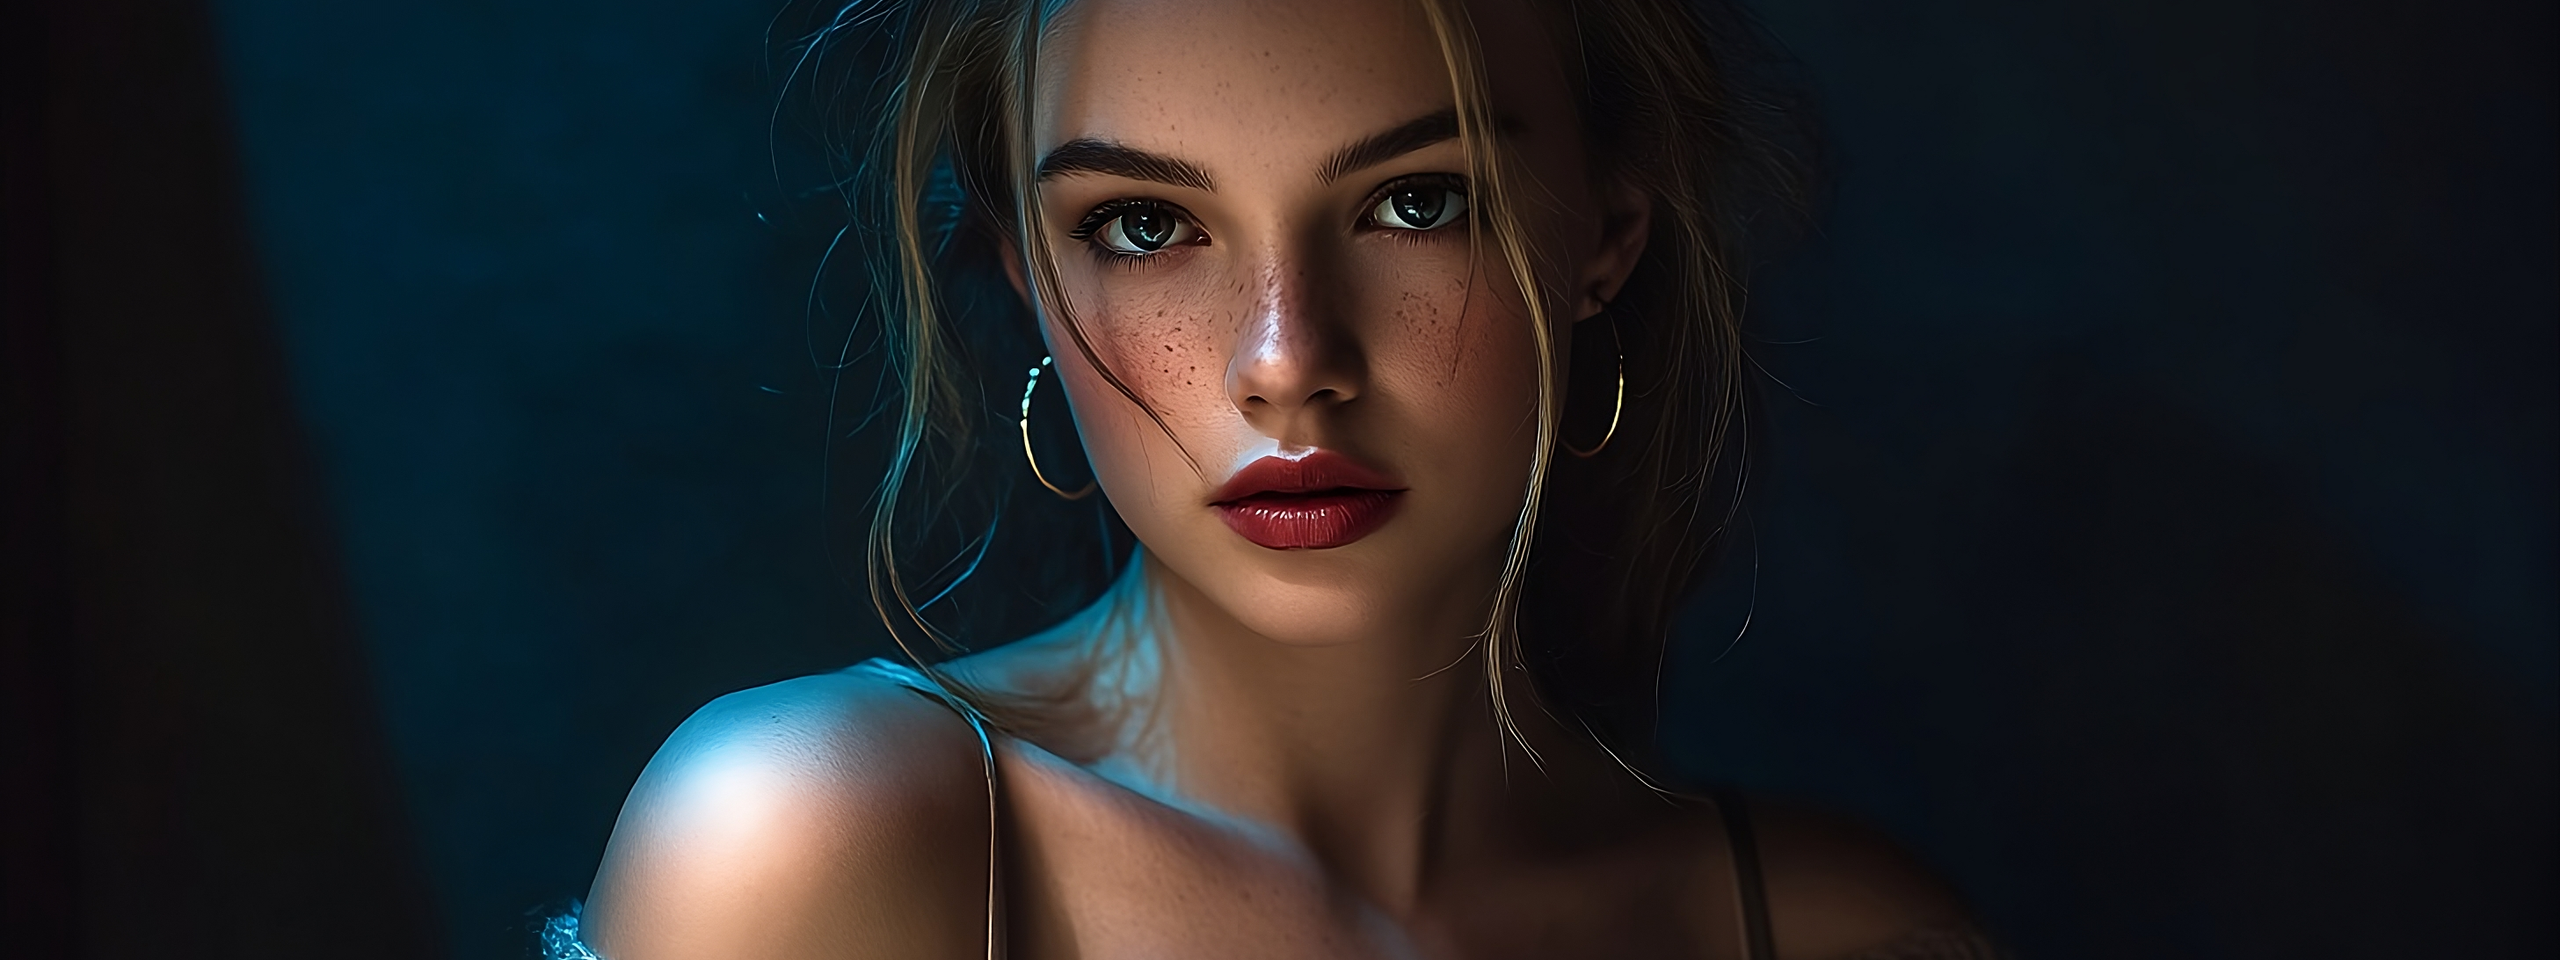
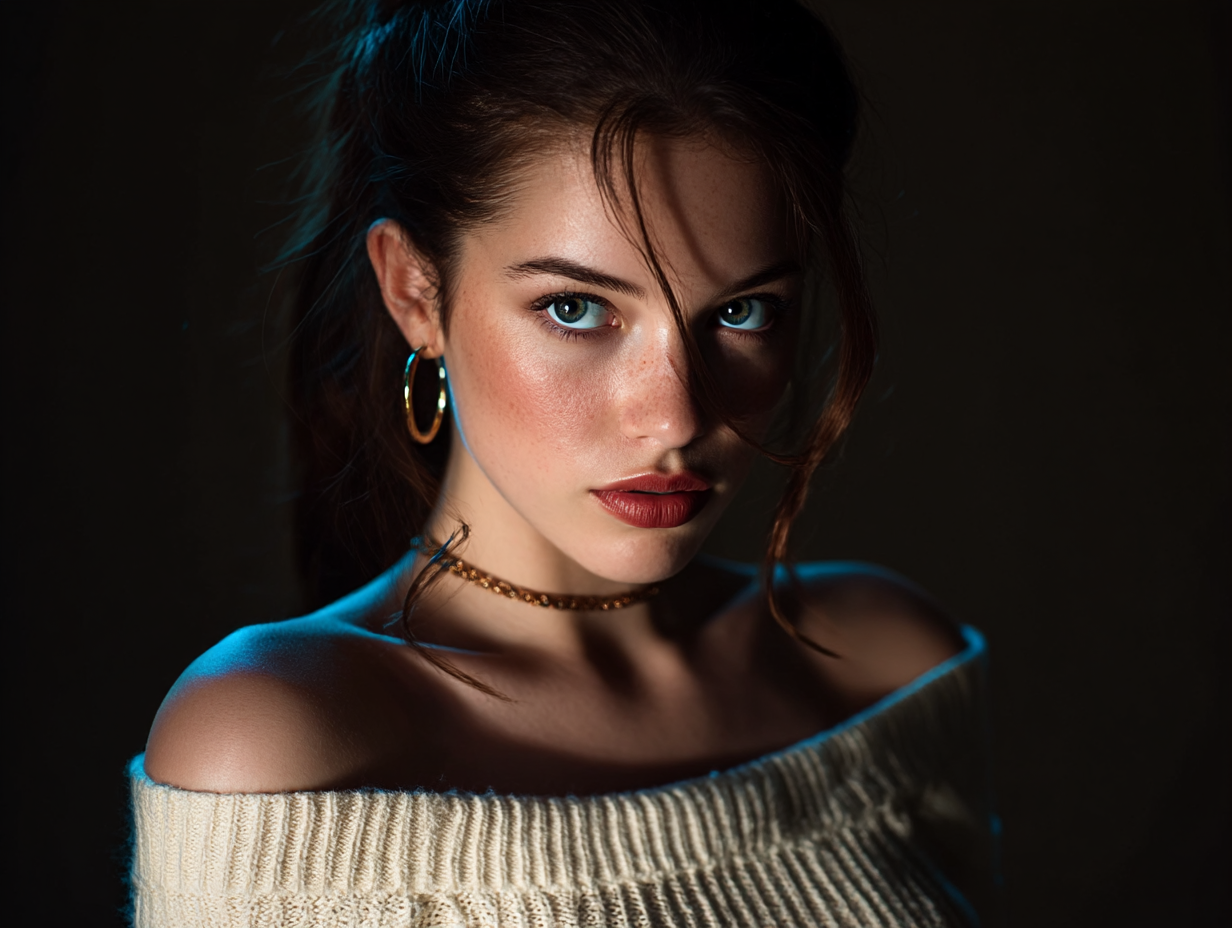
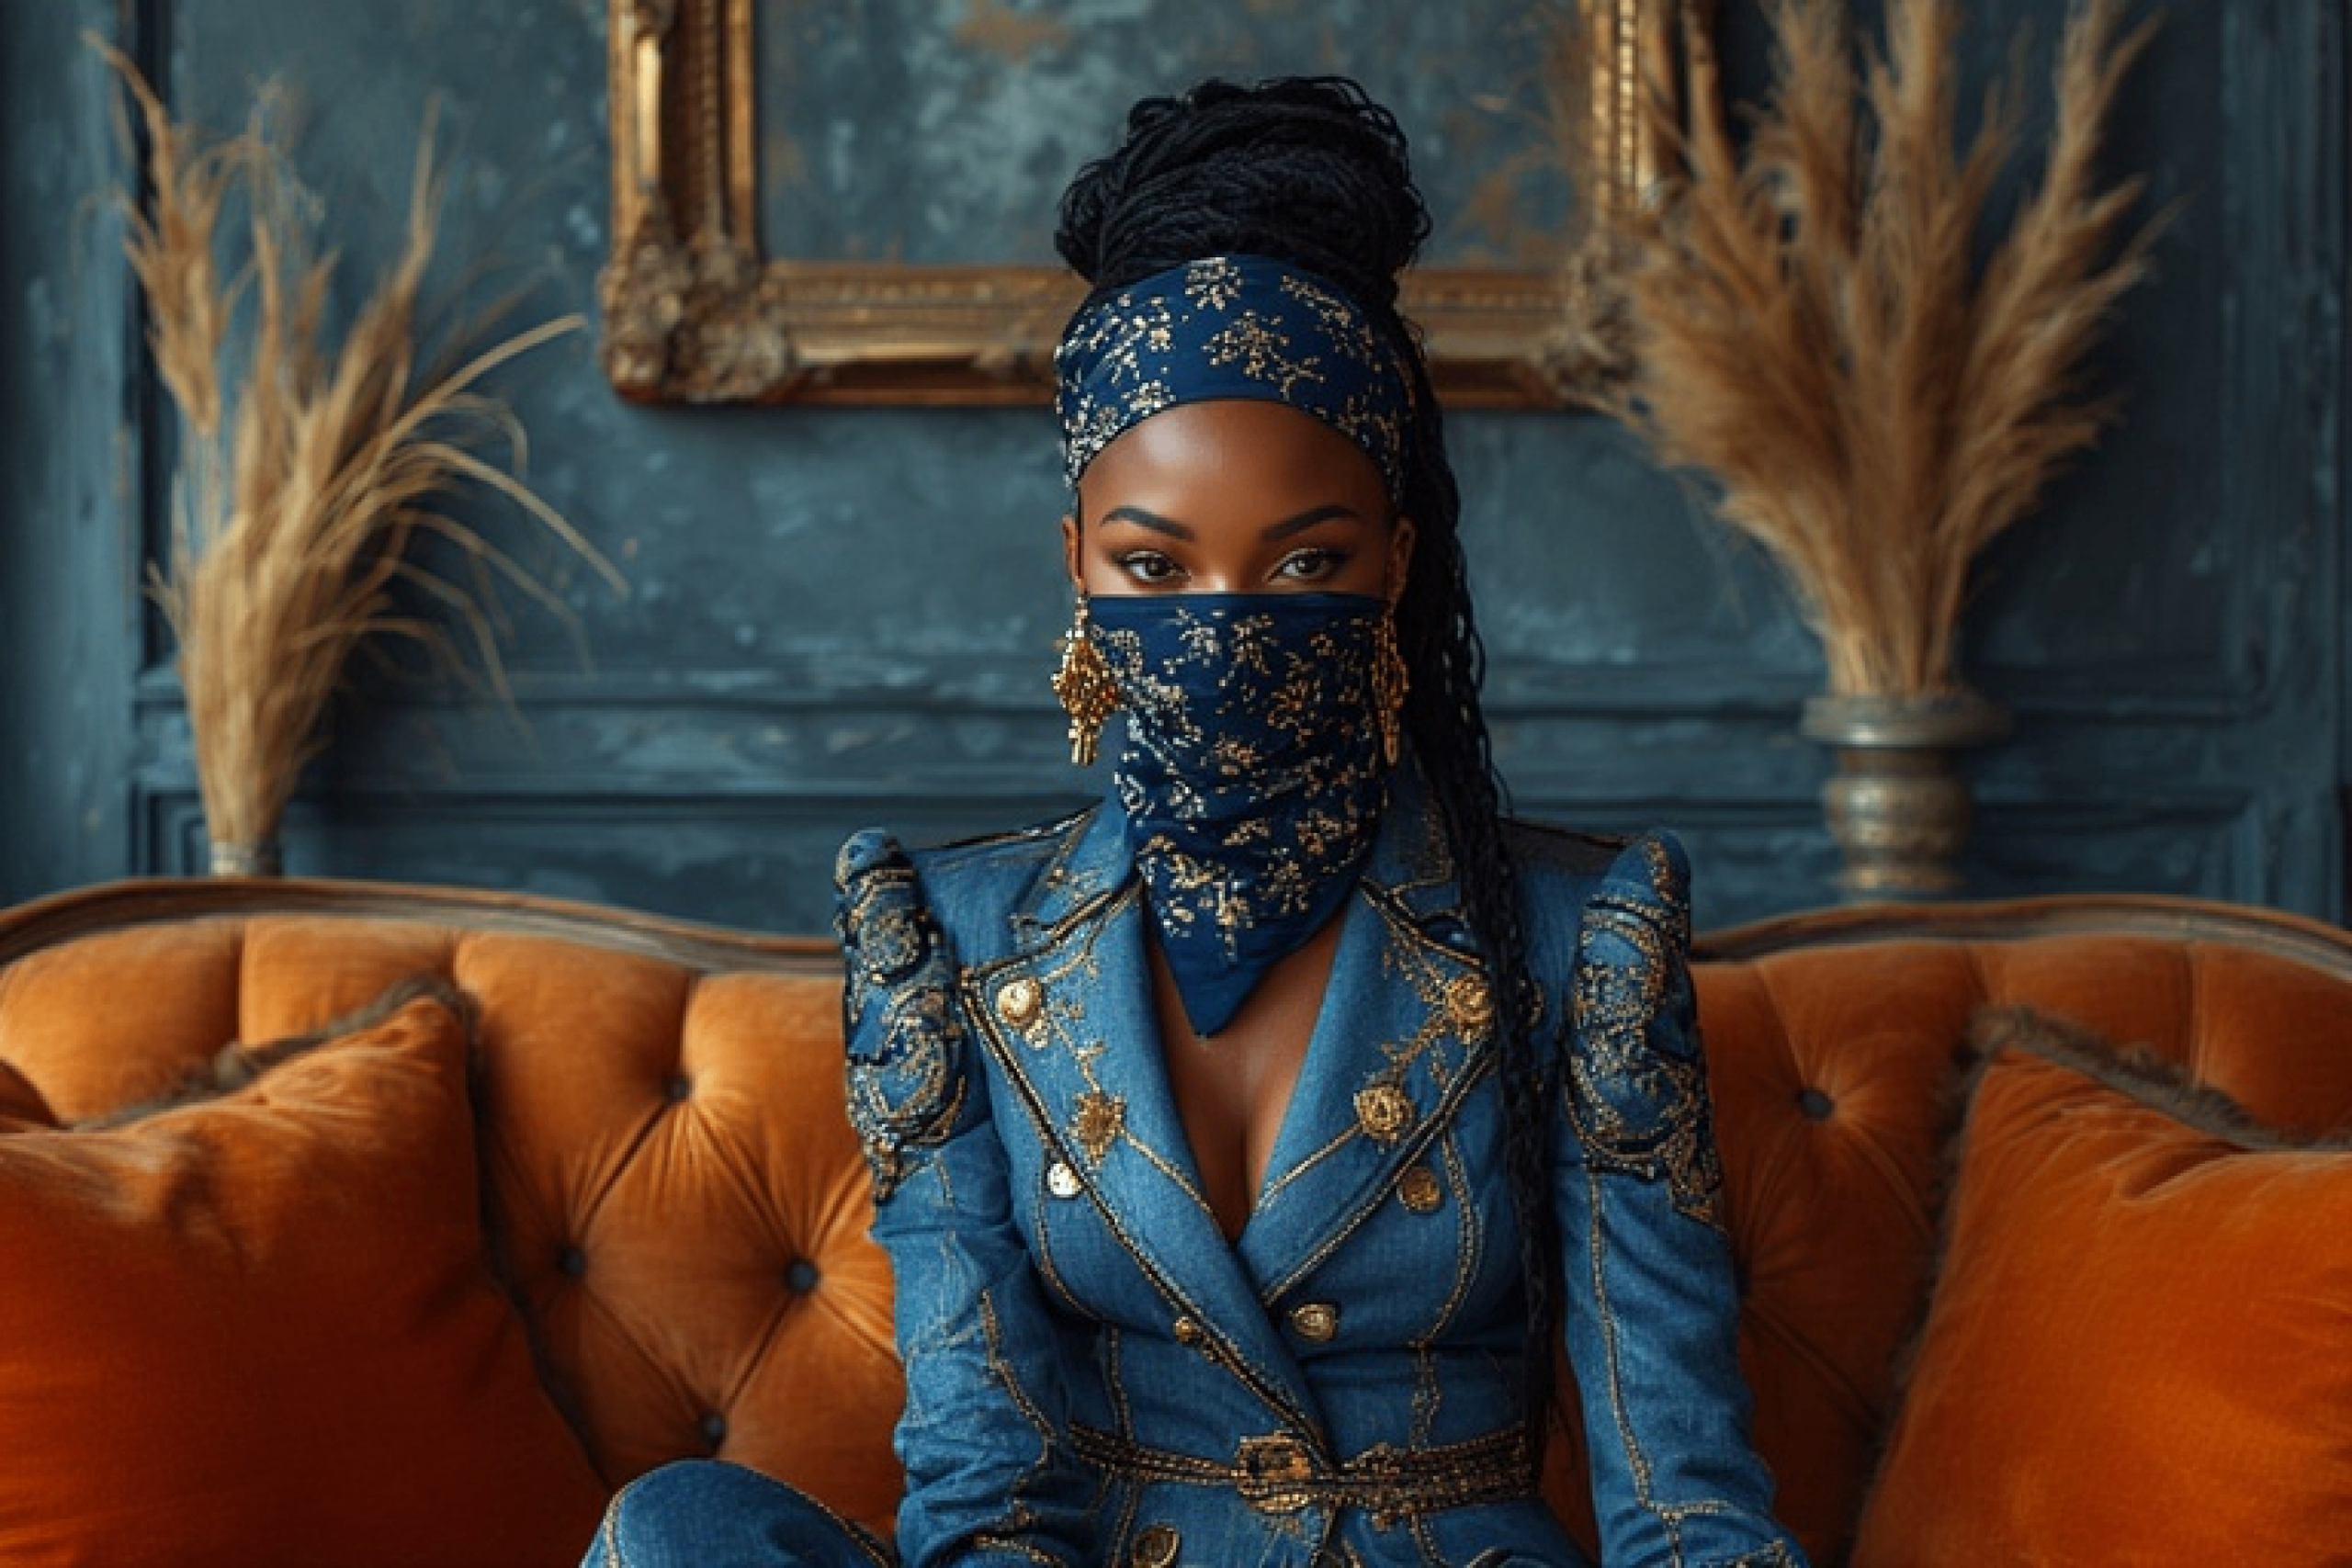
Section 1: The Anatomy of a Master Prompt — A Line-by-Line Breakdown This is your core content. Use a table for clarity and visual appeal. Prompt Fragment What It Does Why It Works Dark and Moody Fine Art Cinematic Sets the overarching mood and genre. Tells AI this is an artistic, dramatic piece, not a snapshot. portrait of a butter cream cocoa skinned young woman Defines the subject with specific, evocative detail. “Butter cream cocoa” provides rich color and texture. “Young woman” sets the age. defiant gaze, off-shoulder-cashmere-sweater Adds narrative and tangible texture. The expression creates story. “Cashmere” gives the AI a tactile quality to render. off-camera flash, pool of light, strong falloff The core technical command for the key light. Creates the harsh, dramatic, studio-lit look on the face. pitch black background Isolates the subject completely. Enhances drama and ensures all focus is on the light and model. ring flash catchlight Adds a critical authentic photographic detail. Creates those perfect circular eye reflections that sell the “flash” effect. deep blue gel Defines the color emotion of the key light. Blue feels cool, melancholic, and modern. skin texture The command for hyper-realism. Forces Midjourney to render pores and details, avoiding plastic-looking AI skin. contrasting, strong backlight, contre-jour, rim light The “magic” injection. Introduces a second light source. Creates the impossible glowing halo, separating the subject from the background. 32K UHD Cinematic Sharp Details The quality override command.
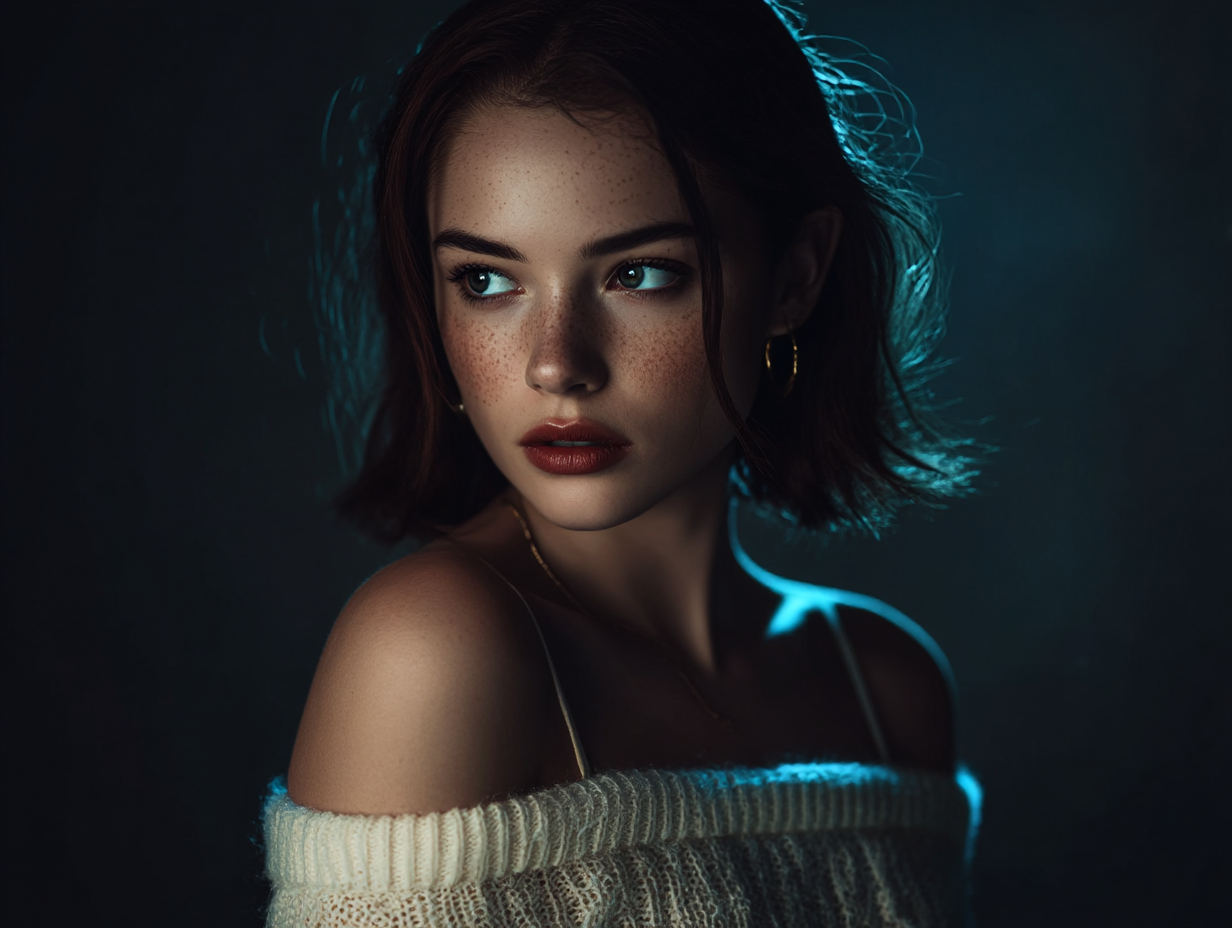
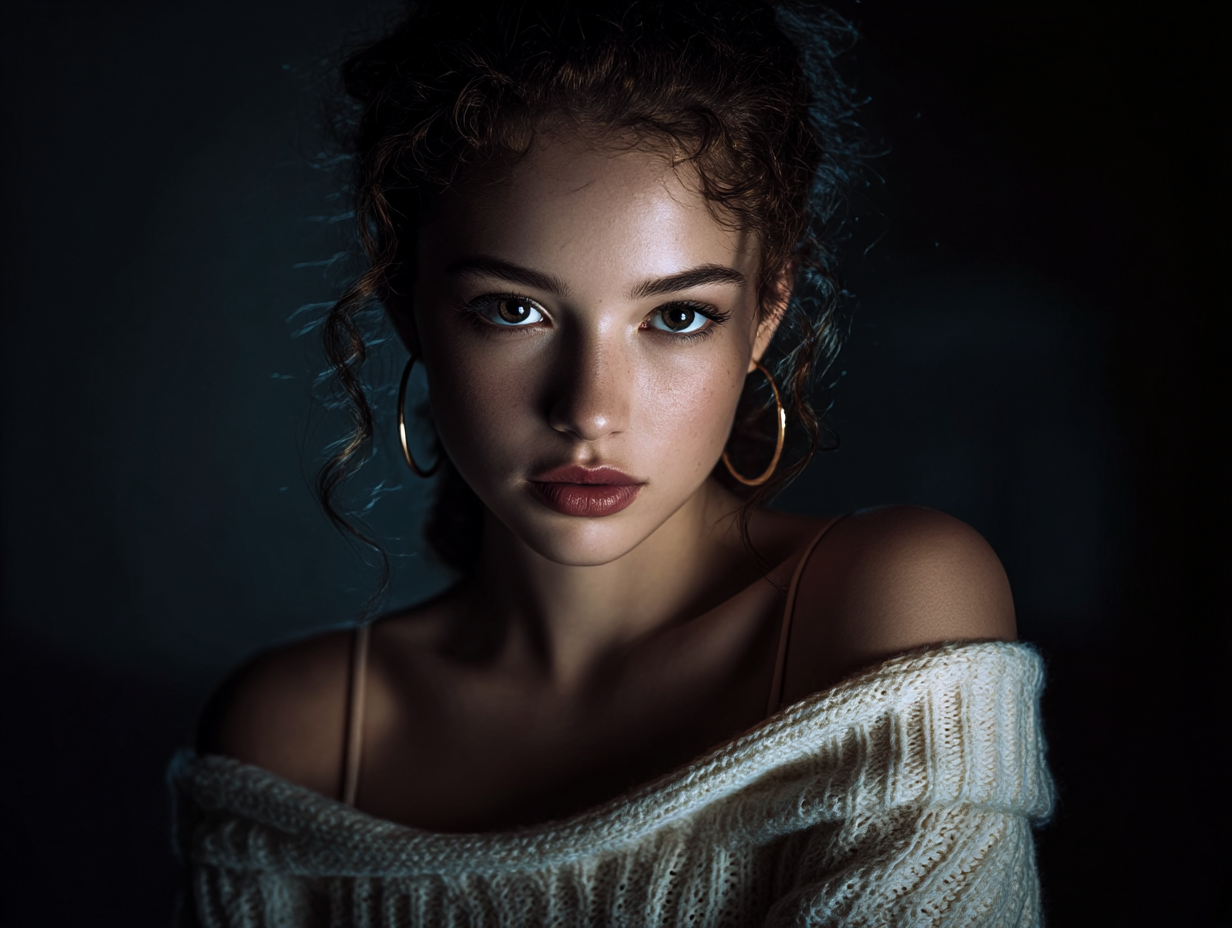
Section 2: The Iteration Journey — How We Got Here Show, don’t just tell. Include 2-3 of your earlier test images. Image 1: The simpler test with just off-camera flash, pool of light… Image 2: Another test with a different color gel. Caption: “Early tests established the core flash effect but lacked the magical depth of the final image.” Explain the “aha!” moment of deciding to add the backlight keywords to see what would happen.
Section 3: Your Turn — How to Remix This Prompt This section provides immediate practical value. Challenge your readers to experiment. The Formula: [Mood] + [Subject] + [Flash Keywords] + [Color] + [Backlight Keywords] + [Quality] Remix Ideas: Change the Color: Try deep amber gel for a warm, fiery look or vibrant magenta gel. Change the Subject: Try an elderly wizard with a long beard or a cyberpunk athlete. Change the Mood: Swap Dark and Moody for Joyful and Vibrant and see how the lighting adapts. Change the Time: Add wet streets after rain to the background and see how the light reflects.

Section 4: Pro Tips for Prompting Lighting in Midjourney Keyword Weighting: The order matters. The first words have slightly more weight. Put your most important concepts early. Be Specific, Not Wordy: Use potent fragments like “skin texture” instead of long sentences like “with highly detailed skin.” Use --style raw: This parameter is crucial for photographic results. It gives Midjourney less “stylized” interpretation and more direct rendering. Embrace the Absurd: Don’t be afraid to combine seemingly contradictory terms (like you did!). This is how you discover unique styles.
Conclusion: You Are the Director of Light Summarize the key lesson: Midjourney is a tool that responds to intentional, layered commands. Reiterate that the goal is not to replicate reality but to create a compelling hyper-reality. End with a call to action: “Now it’s your turn. Take this prompt, break it, remix it, and see what new worlds of light you can discover. Share your creations with me!”
Call to Action & Social Media Prompts: At the end of the post: “What kind of light will you create? Share your remixes of this prompt with me on [Social Media Platform] using the hashtag #FlashAndGlow!” Social Media Teaser Post (with your best image): “I figured out how to mix studio flash with heavenly backlight in Midjourney. The results blew my mind. 🔦✨ Link in bio to read the full tutorial and get the prompt! #AIArt #Midjourney #PromptEngineering #Photography”
What is Upscale.media?
Why Use It for Your Midjourney Images? (The Benefits) Your Midjourney images are already high-quality (especially with prompts like 32K UHD), but they have a maximum native resolution. Upscale.media pushes them even further. Here’s why it’s perfect for your blog post project: 1. Achieve True Ultra-High Definition for Your Hero Image: Midjourney’s Limit: A standard upscaled Midjourney image is typically around 1024×1024px to 2048×2048px, depending on the version. Upscale.media’s Role: You can upscale that image 4x or more. This means you can create a massive, hyper-detailed image (e.g., 4096×4096px) that looks stunningly crisp even when viewed full-screen on a large monitor or used for high-quality prints. This is crucial for making your blog’s featured image impactful. 2. Perfectly Sharpens Details You Worked Hard to Create: Remember your keywords: skin texture, cinematic sharp details, cashmere-sweater. Upscale.media’s AI is trained to recognize and enhance these textures. It will make the pores on the skin, the weave of the cashmere, and the individual strands of hair even more defined and realistic. It respects and amplifies the details you painstakingly prompted for. 3. It’s Free and Incredibly Easy to Use: No Software: It runs in your web browser; no download or installation is needed. Simple Process: Drag-and-drop your image, click a button, and download the result in seconds. No Watermarks: The free version provides high-quality upscales without slapping a watermark on your artwork. 4. Prepares Images for a Professional Blog Layout: Large Hero Image: A high-resolution upscaled image ensures it won’t become pixelated or blurry as the focal point of your article. Zooming and Interaction: Some blogs allow readers to zoom into images to see the detail. An upscaled image provides the data needed for this feature to work beautifully, letting your audience truly appreciate the 32K UHD quality. Flexibility for Cropping: With a larger image, you have room to crop it for different aspect ratios (e.g., for social media previews) without sacrificing final resolution. 5. Fixes Minor AI Artifacts: Sometimes, Midjourney images can have very slight softness or tiny, strange imperfections in areas of fine detail. The upscaling process can often clean these up, resulting in a cleaner, more polished final piece.
How to Use It for Your Project: A Simple Guide Go to the Website: Navigate to www.upscale.media/ in your browser. Upload Your Image: Click “Upload Image” and select your best Midjourney result (the one you want to use as your blog’s main hero image). Choose the Upscale Factor: A 2x or 4x upscale is usually perfect. For a Midjourney image, 4x will give you a very large, high-quality file. Process and Download: Click the button to process the image. Within moments, you’ll see a side-by-side comparison. If you’re happy, click “Download Image.” Use in Your Blog: Upload this new, higher-resolution version to your blog platform as the featured image. In summary: Upscale.media is the perfect, free finishing touch to take your already masterful Midjourney creation and ensure it is presented in the highest possible quality for your audience. It directly complements your goal of achieving ultra-high definition.
Option 1: The “How Did I Do This?”
This version focuses on sparking curiosity by presenting it as a puzzle. “I combined two IMPOSSIBLE lighting styles in one Midjourney prompt. 😮 The results are honestly mind-blowing. 🔦✨ Learn the secret behind mixing harsh studio flash with soft heavenly backlight. Full tutorial & prompt in my latest post! 👇 #AIArt #Midjourney #PromptEngineering #AIPhotography #AIPortrait” Why it works: “IMPOSSIBLE” is a powerful word that stops scrollers. “Learn the secret” offers immediate value. It clearly states the two techniques, attracting both photographers and AI artists.
Option 2: The “Results-First”
Perfect for Twitter or places with strict character limits. “Studio Flash + Heavenly Backlight = Pure Magic. ✨ I got Midjourney to create this impossible lighting setup. The prompt breakdown is incredible. Full tutorial on the blog! #AIArt #Midjourney #PromptEngineering #Photography” Why it works: It’s a quick, easy-to-read formula. “Impossible lighting setup” creates intrigue. Gets straight to the point.
Blog Post Conclusion: Try This Now & Come Back For More Alright, you’ve seen the breakdown. You understand the core principles. Now, it’s your turn to put this into practice.
Your Starter Challenge:
Take this powerful core prompt structure and make it your own. Change these three things:
The Subject: “a cyberpunk samurai” or “an elegant elderly woman with silver braids”.
The Color Gel: Change “deep blue gel” to “hot pink gel” or “golden hour gel”.
The Mood: Replace “Dark and Moody” with “Hopeful and Bright” or “Mysterious and Shadowy”.
Use this template to get started: [Your Mood] portrait of [Your Subject], off-camera flash, pool of light, pitch black background, rim light, [Your Color] gel, cinematic --ar 2:3 --style raw
Go experiment right now! See what you can create in just 10 minutes. I guarantee you’ll be surprised.
Want to Take It to the Next Level? What you just learned is powerful, but it’s just the beginning. This single prompt structure can be pushed so much further. In my next post, I’m going to show you how to: Master Negative Prompts: I’ll give you the exact --no parameters I use to clean up common AI artifacts and ensure perfect compositions every time. Control Chaos: Learn the advanced technique of using image prompts alongside your text to guide pose, composition, and finer details with absolute precision. This is the real secret to consistency. Engineer Your Style: We’ll dive into how to use --style raw vs. --stylize and other parameters to truly lock in your unique photographic signature. Break the Rules Safely: How to combine more than two conflicting lighting styles for truly unique results without the image falling apart. This is where we move from creating great images to developing a repeatable, professional workflow. Don’t miss it! The best way to make sure you see it is to subscribe to the newsletter or follow me on [Instagram]. In the meantime, share your remixes with me! Tag me @[YourHandle] and use the hashtag #FlashAndGlowChallenge. I’ll be featuring my favorite creations in my next article!
The Edwards Art Blog

Ethereal Soundscape: The Medusa Muse

Medusa

Unlock the secrets to creating stunning AI-generated artwork

Toxic Air: The Silent Sentinel

Through the Lens of Emotion

The Art of Storytelling: Capturing Emotions Through Fine Art Portrait Photography

Dreamy Meadows: An Enchanting Escape Into Nature’s Serenity

AI: The Photographer’s New Assistant (and Sometimes Muse)
Why Midnourney Is Failing In The Art Industry

Blog Post: The Ultimate AI Art Prompt — Craft a Museum-Grade Masterpiece in One Click
The Controlled Chaos of Creation: On Prompting, Privacy, and the Pursuit of Precision
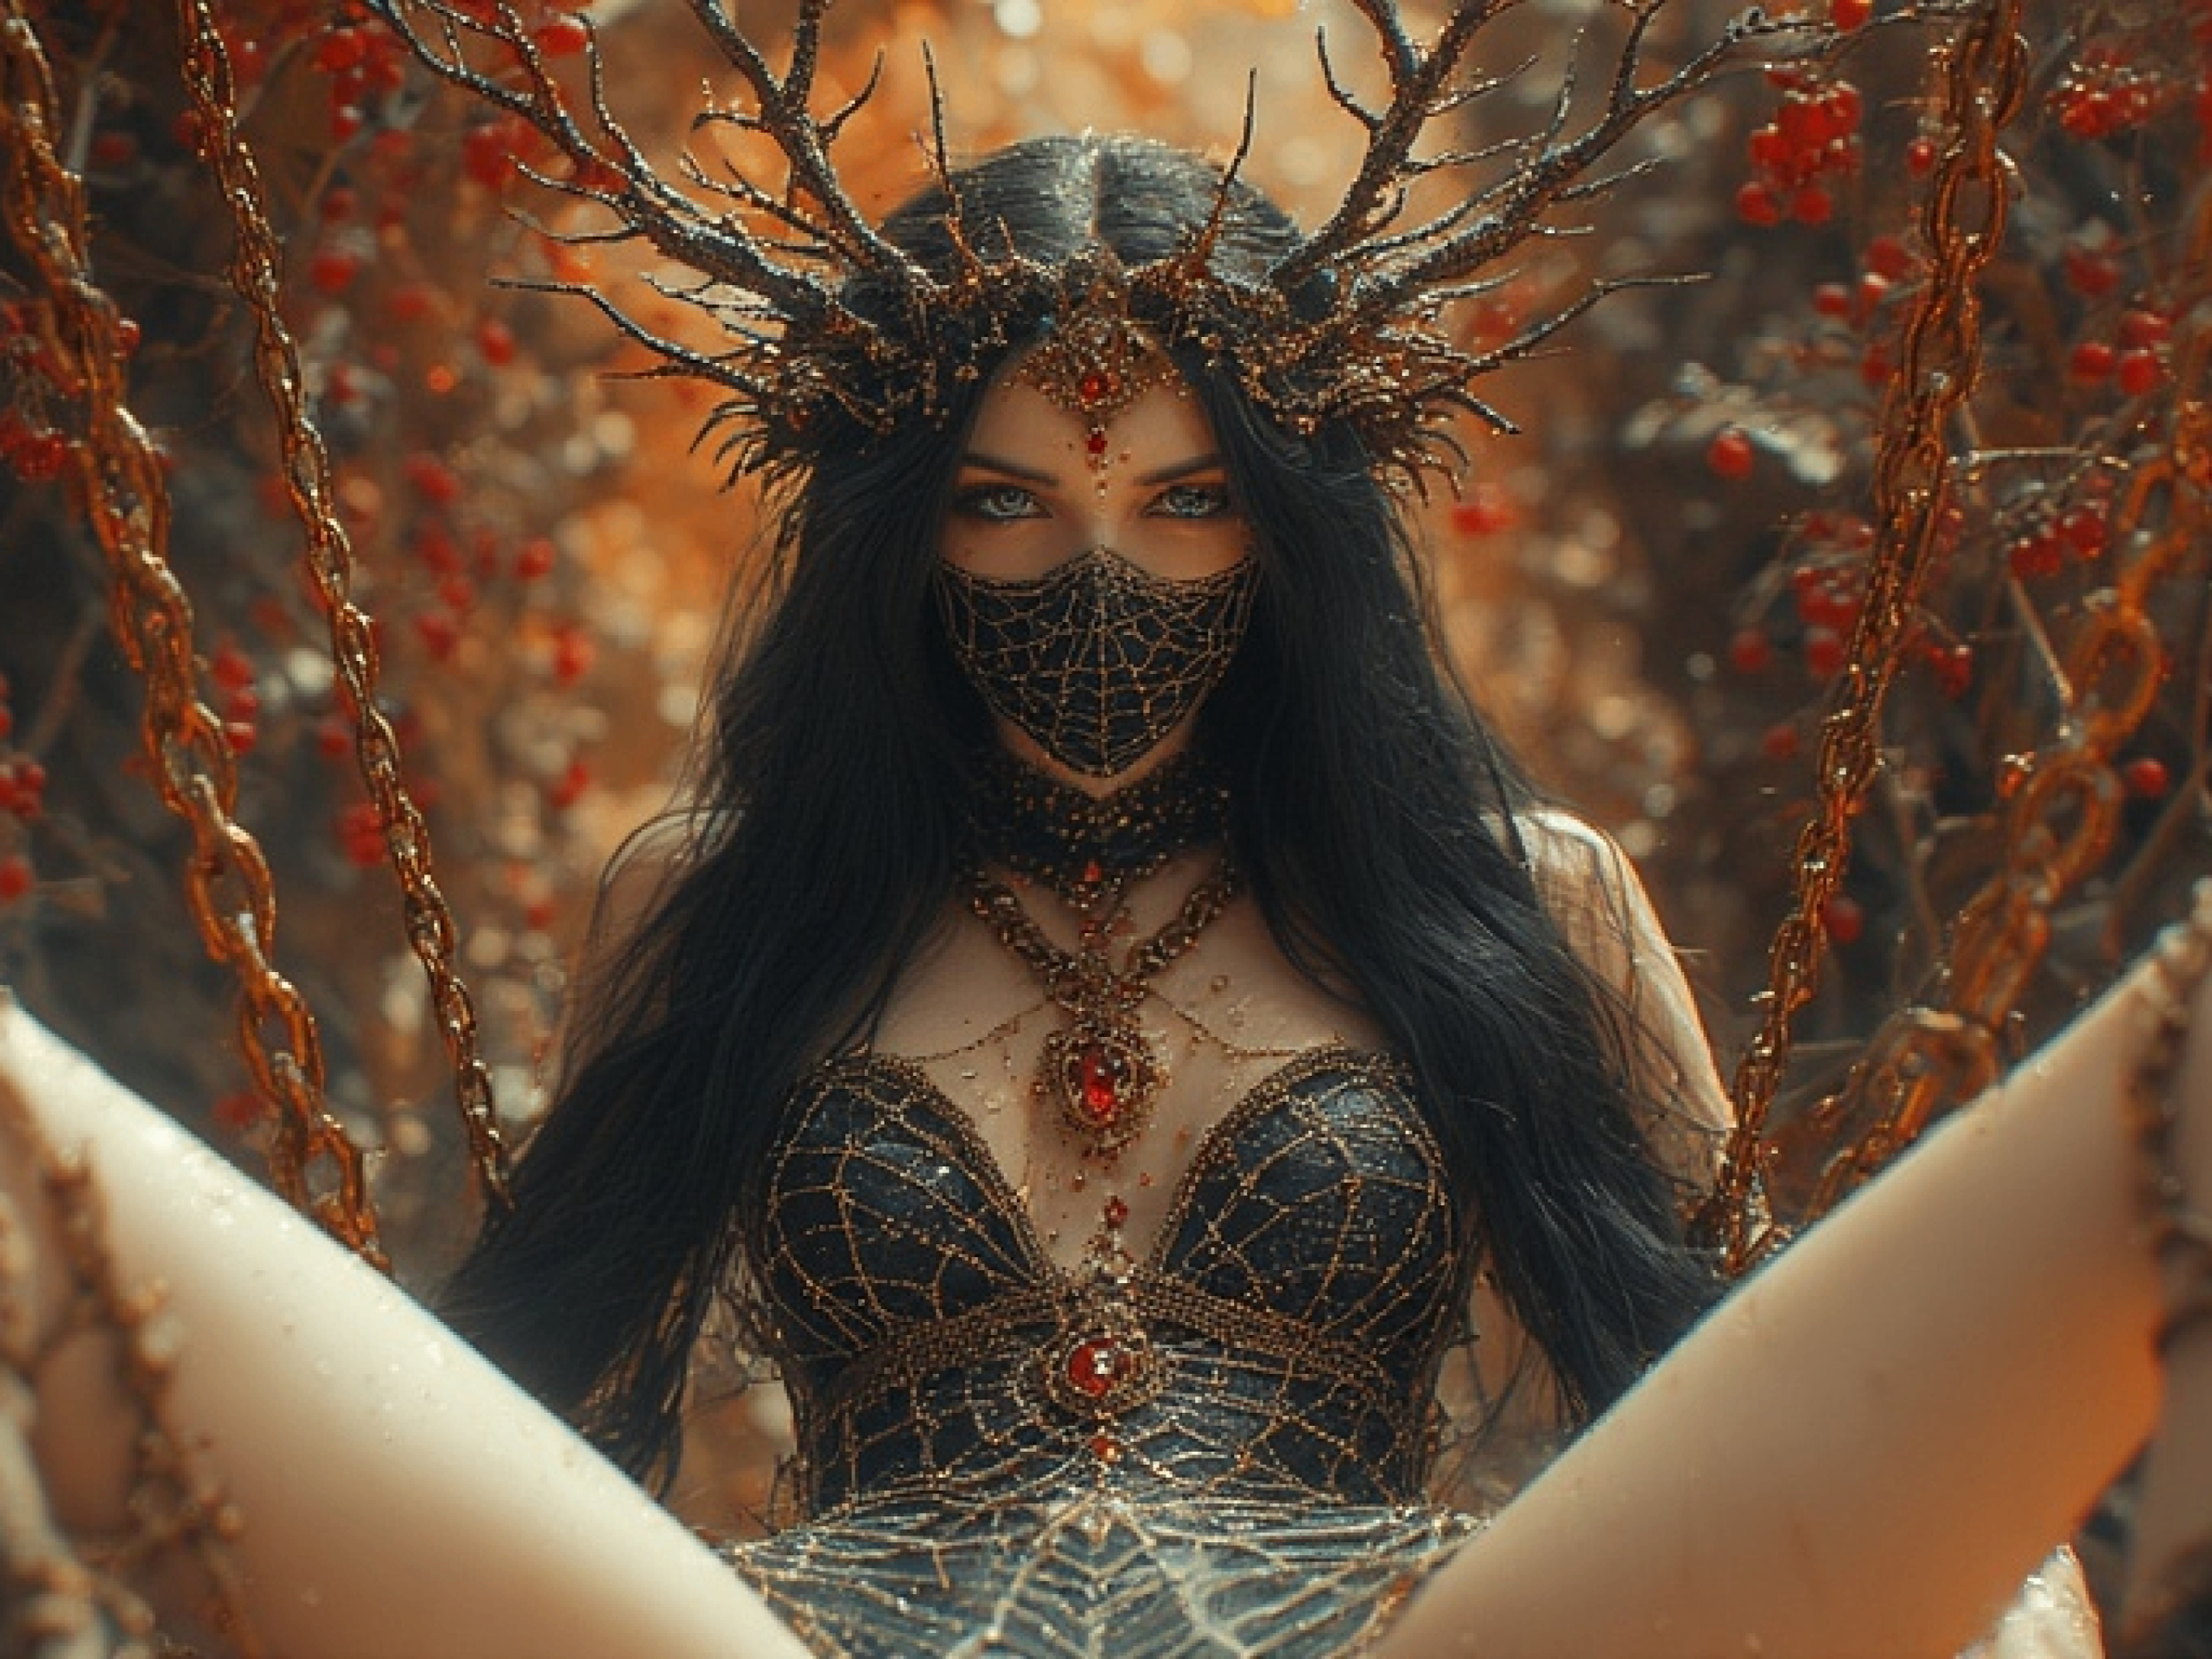
Shadows of Silk and Thorns: A Dark Fairy Queen’s Ethereal Realm
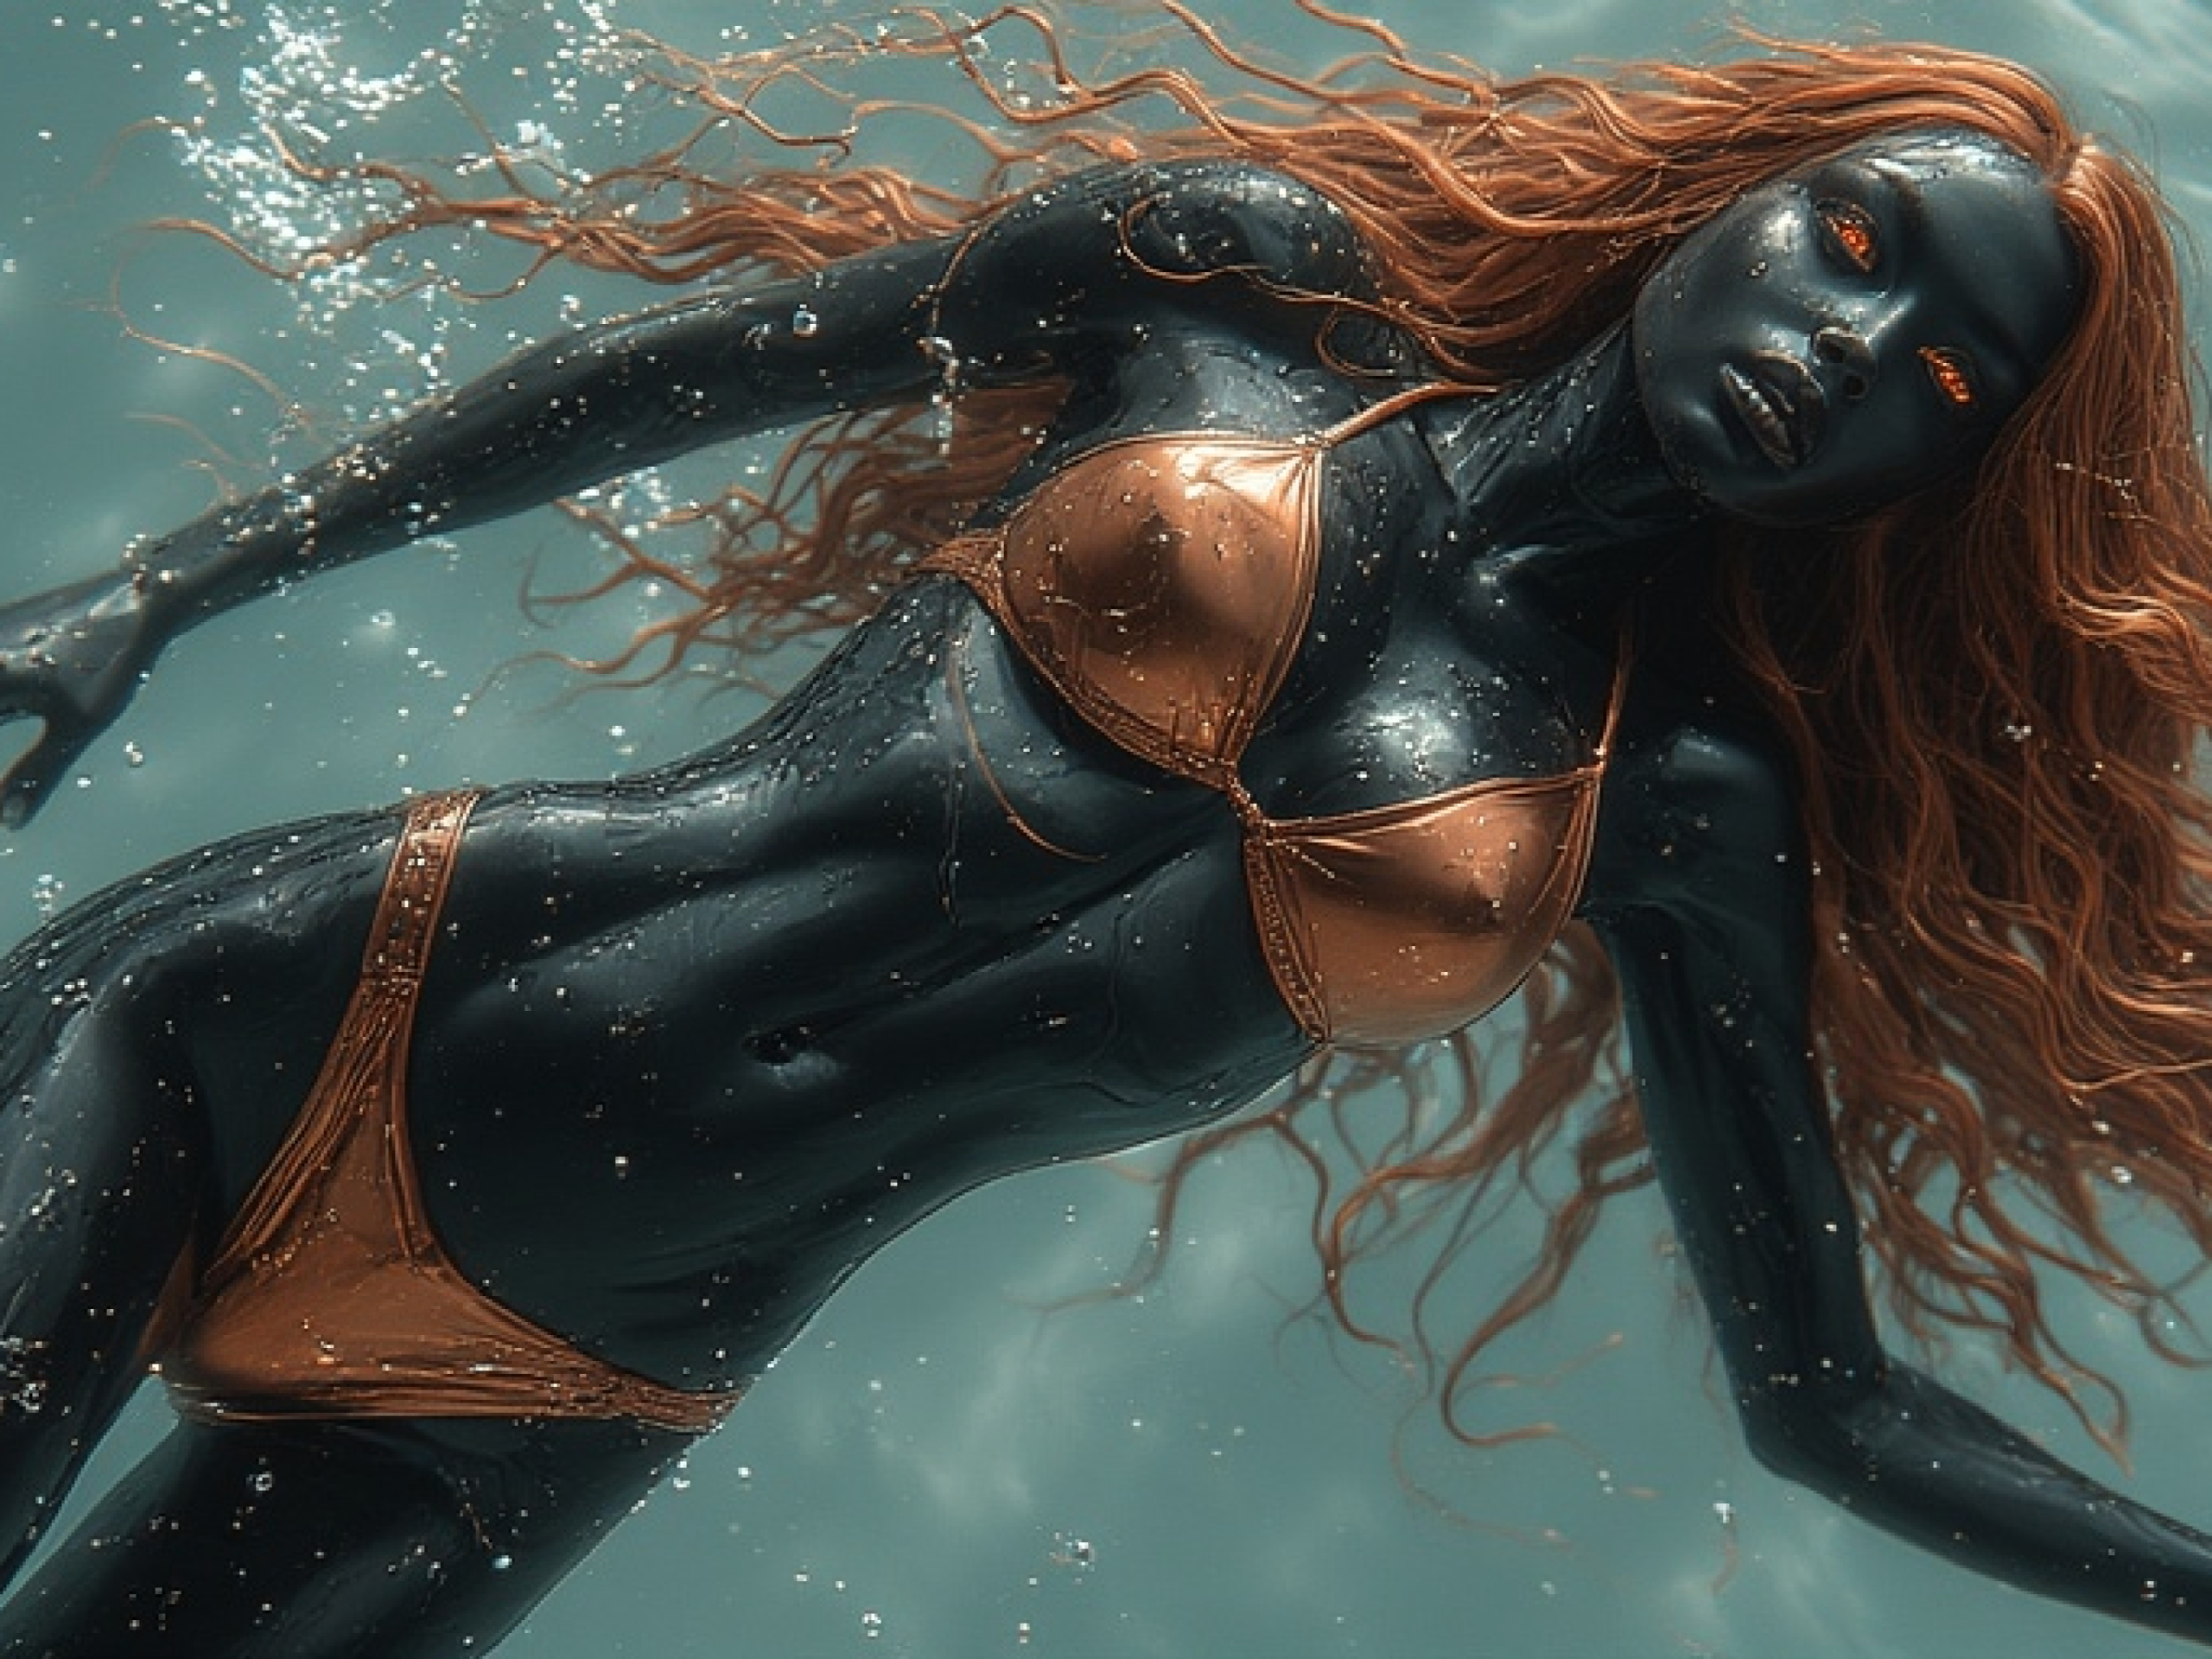
The Art of Ethereal Realism: A Black Porcelain Feminine Figure with Soul-Piercing Beauty

The Rubedo Cipher Rite
